A roof vent cap is a small but essential component of a well-functioning roof ventilation system. Crucial for maintaining energy efficiency and protecting your home, these caps sit atop roof vents to manage airflow while preventing unwanted elements like moisture, debris, and pests from entering your home. Without them, your roof and attic could be vulnerable to serious issues such as mold growth or heat buildup.
If you’re a homeowner looking to protect your home with the best ventilation solutions, this guide will walk you through everything you need to know about roof vent caps, including:
- Their main purpose and importance in roof vent systems.
- A breakdown of the most common types of vent caps available.
- Helpful installation tips to ensure they work efficiently in your home.
Whether you’re looking to replace an old vent cap or learn more about how they improve your home’s ventilation, this article will provide expert guidance.
👉 The Purpose of Roof Vent Caps
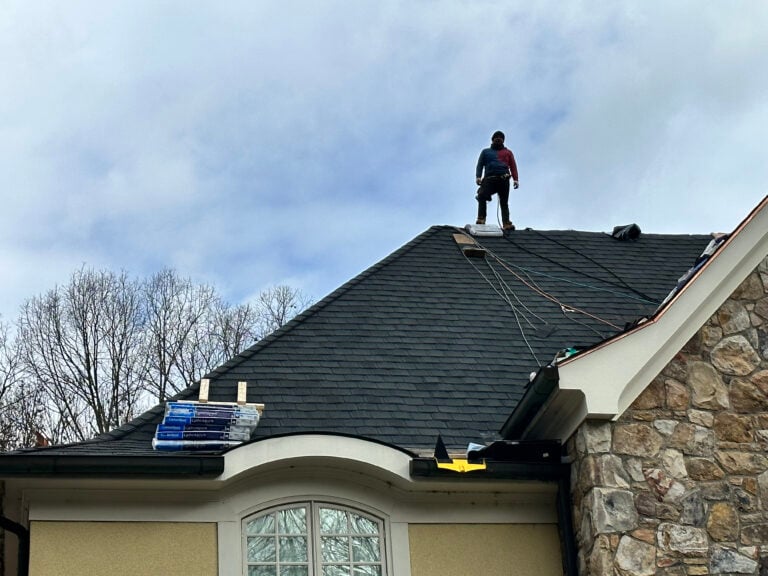
For full protection and expert installation, trust our roofing services in Arlington to keep your roof performing at its best. A roof vent cap is not simply an accessory; it plays a critical role in protecting your home. Here’s why they’re important:
1. Prevent Entry of Moisture and Debris
Roof vent caps create a barrier that prevents outdoor elements such as rain, snow, and debris from entering your home. This is especially important during the winter months when heavy snow or rain can seep into your attic, leading to moisture buildup or long-term damage.
2. Ensure Proper Airflow
A roof vent cap is designed to allow air to flow freely in and out of your attic. Proper ventilation reduces the buildup of heat and humidity, which can warp wood or cause mold in your roof’s structure. Effective airflow also maintains your home’s energy efficiency.
3. Keep Birds and Critters at Bay
Roof vents without caps can act as open invitations to birds and small animals. A durable roof vent cap creates a secure cover that keeps these unwelcome visitors out while letting air circulate freely.
Without a vent cap, your attic is exposed to a range of risks. By adding this small feature, you can extend the life of your roof and save yourself some costly repairs down the line.

🏠 Types of Roof Vent Caps
Roof vent caps come in a variety of shapes and sizes to suit different ventilation needs. When selecting one for your home, consider factors like your vent’s diameter, the climate in your area, and the presence of common nuisances like debris or birds. Here’s a breakdown of the most popular types:
Standard Roof Vent Caps
These are the most common vent caps and are compatible with various roof vent systems. Made from durable materials like galvanized steel or aluminum, they are built to withstand harsh weather and prevent debris from entering your attic. Standard vent caps are easy to install and an affordable choice for most homeowners. Learn more about how metal roof vents enhance overall airflow and efficiency.
Rotating Vent Caps
Rotating vent caps are specifically designed to improve airflow by leveraging the wind’s natural movement. As the wind blows, the cap rotates to enhance ventilation and create a more efficient airflow system. These caps are ideal for homes in areas prone to high heat, as they help reduce attic temperatures.
Insulated Vent Caps
Insulated vent caps are designed for regions with extreme weather conditions, particularly during the winter months. They feature an additional layer of insulation to prevent ice dams and condensation while maintaining proper ventilation. These caps can help protect your home from structural damage caused by excessive moisture buildup. If your attic has suffered from leaks or ice dams, consider scheduling storm damage roof repair in Alexandria to restore proper ventilation and protection.
Multi-Purpose Vent Caps
Multi-purpose vent caps are versatile options that combine added features like pest-resistant screens or built-in hoods for extra debris protection. These designs are great for homeowners who want peace of mind knowing their roof vents are well-secured.
Custom-Fit Vent Caps
For homes with unique roof vent designs, custom-fit vent caps can be tailored to match your specific requirements. Made to order, these solutions ensure a perfect fit for enhanced efficiency and durability.
Each type of vent cap serves a unique purpose, so it’s important to choose one that best meets your ventilation and environmental needs.

💡 Installation Tips for Roof Vent Caps
Installing a roof vent cap may seem straightforward, but there are crucial details to keep in mind to ensure proper functionality. Follow these expert tips for a successful installation process:
- Check the Vent Diameter: Before purchasing a vent cap, measure the diameter of your existing roof vent. An ill-fitting cap will compromise its functionality and may lead to air leaks or water infiltration. Roof vents typically range in size, so having accurate measurements is important.
- Select Weather-Resistant Materials: Opt for vent caps made from materials that can withstand your local weather conditions. Durable options like stainless steel or ABS plastic are corrosion-resistant and hold up well against heavy rain, snow, and UV rays.
- Position the Cap Correctly: When installing the vent cap, make sure it’s level and securely positioned at the top of the vent. Improper placement can allow moisture or debris to bypass the cap and enter your attic.
- Use High-Quality Sealant: Apply a weatherproof sealant around the base of the vent cap to create an airtight seal. This will help protect your attic from leaks and ensure your vent system functions efficiently.
- Add a Screen for Pest Protection: If birds or critters are a concern, consider adding a mesh screen to your vent cap. This provides an additional layer of protection without obstructing airflow.
- Conduct Regular Inspections: Even the most durable roof vent caps require periodic maintenance. Check for any signs of wear, damage, or blockage, especially during the winter months when debris and ice may accumulate around the cap.
Our metal roofing experts in Alexandria can help you choose weather-resistant solutions that match your home’s structure.
✅ Installation Process in 6 Steps
Here’s a simple, step-by-step guide to installing a roof vent cap:
- Gather your materials: Roof vent cap, measuring tape, screwdriver or drill, weatherproof sealant, and rust-proof screws.
- Measure the Vent: Ensure the vent diameter matches the size of your cap for a snug, efficient fit.
- Position the Cap: Place the cap snugly over the vent and ensure it sits evenly on all sides.
- Secure the Cap: Use rust-proof screws to affix the roof vent cap firmly in place. Be sure not to overtighten, as this can damage the cap or vent.
- Apply the Sealant: Spread weatherproof sealant along the edges of where the cap meets the vent pipe to prevent leaks.
- Test the Installation: Check for stability and test the airflow by feeling for drafts inside your attic. A properly installed vent cap will show no signs of wobbling and will keep unwanted elements out.
A careful, detail-oriented approach will ensure your vent cap remains in peak condition for years to come. For extra protection, review our roof overhang maintenance tips to extend your roof’s lifespan.

Why Choose Springfield Roofing?
Your home’s roof plays a critical role in your family’s comfort and safety. Whether you’re installing a roof vent cap, upgrading your ventilation, or tackling unexpected roofing issues, Springfield Roofing is here to help at every step of the way. Our team of experienced professionals understands how vital proper attic ventilation is, especially in protecting your home during winter months and beyond.
At Springfield Roofing, we pride ourselves on delivering quality results. With expertise in all aspects of roofing and ventilation, we’ll ensure your roof vents function efficiently while protecting your home from moisture, debris, and pests. Pairing your roof with reliable gutters in Fairfax ensures full protection from moisture and runoff damage.
Looking for expert help with your roof vent caps? Contact Springfield Roofing today for personalized advice and premium-quality service that you can trust.