When it comes to roofing materials, roof shingles stand out as a popular choice for homeowners across the world. Offering a blend of affordability, durability, and aesthetic appeal, roof shingles come in various types and materials to suit different preferences and needs.
In this expert guide, we’ll explore everything you need to know about roof shingles:
- The best roof shingles and materials
- Longevity
- Cost-effectiveness
- Maintenance
- Finding the right contractor
Why Roof Shingles Are So Popular

Shingles are a popular choice for residential roofing, offering various options tailored for homeowners.
Roof shingles have gained popularity due to several key reasons:
- Affordability: Compared to other roofing materials like metal or tile, roof shingles are generally more affordable, making them accessible to a wider range of homeowners.
- Versatility: They come in a variety of styles, colors, and textures, allowing homeowners to choose a look that complements their home’s architecture and personal preferences.
- Ease of Installation: Roof shingles are relatively easy to install, which can reduce labor costs compared to more complex roofing materials.
- Durability: Modern roof shingles are designed to withstand harsh weather conditions, providing good protection against rain, wind, and even fire (depending on the type of shingle).
- Warranty: Many manufacturers offer warranties ranging from 20 to 50 years, assuring homeowners of their durability and performance over time.
What to Look for in Roofing Shingles
When selecting roofing shingles, there are several key factors to consider to ensure you choose the best option for your home. Here are some key considerations:
Key Factors to Consider
- Durability: One of the most critical aspects to look for in roofing shingles is durability. High-quality shingles are designed to withstand harsh weather conditions, including heavy rain, strong winds, and extreme temperatures. Opt for shingles with a proven track record of longevity to ensure your roof remains intact for years to come.
- Cost: Budget is always a significant factor in any home improvement project. When evaluating roofing shingles, consider not only the cost of the shingles themselves but also the installation and long-term maintenance expenses. While some shingles may have a higher upfront cost, they could offer better value over time due to their durability and lower maintenance needs.
- Style: Your roof plays a substantial role in your home’s overall aesthetic. Choose a style that complements your home’s architecture and exterior design. Whether you prefer the classic look of 3-tab shingles, the textured appearance of architectural shingles, or the premium feel of luxury shingles, there are options to suit every taste.
- Warranty: A robust warranty can provide peace of mind and protect your investment. Look for manufacturers that offer comprehensive warranties covering a significant period, typically ranging from 20 to 50 years. This ensures that you are covered in case of any defects or issues with the shingles.
- Energy Efficiency: Energy-efficient shingles can help reduce your energy bills by reflecting more sunlight and absorbing less heat. This is particularly beneficial in warmer climates, where keeping your home cool is a priority. Look for shingles with energy-efficient ratings to enhance your home’s overall efficiency.
- Maintenance: Consider the maintenance requirements of the shingles you choose. Some materials may require more frequent cleaning and repairs, while others are designed to be low-maintenance. Opt for shingles that align with your willingness and ability to perform regular upkeep.
- Environmental Impact: In today’s eco-conscious world, the environmental impact of your roofing materials is an important consideration. Look for shingles that are recyclable and made from sustainable materials. Some manufacturers also offer shingles with a lower carbon footprint, contributing to a greener planet.
Different Types of Asphalt Shingles

Asphalt shingles are the most common type of roof shingle, primarily due to their affordability and ease of installation. Selecting the right asphalt shingles brands is crucial, as it depends on factors like budget, design preferences, and specific regional needs.
When choosing the right type of shingles, it’s important to consider various asphalt shingles brands, as they offer different features like wind and impact resistance, as well as warranties.
There are three main types of asphalt shingles:
3-Tab Shingles:
These are the most basic and affordable asphalt shingles. They consist of a single layer with cutouts (tabs) that create the appearance of separate shingles when installed. Various shingle brands offer 3-tab shingles, each with unique features, warranties, and aesthetic options to suit different homeowner preferences.
Architectural Shingles:
Also known as dimensional or laminate shingles, these are thicker and more durable than 3-tab shingles. They have multiple layers bonded together, creating a more textured appearance that resembles wood or slate. CertainTeed shingles, for example, offer features such as fire resistance and extensive warranty options.
Luxury Shingles:
These are premium asphalt shingles designed to mimic the look of natural materials like cedar shakes or slate. They are thicker, heavier, and often have enhanced aesthetic features.
4 Alternative Shingle Materials to Asphalt Shingles

The roofing industry offers a variety of alternative materials to asphalt shingles, emphasizing quality, innovation, and durability. While asphalt shingles dominate the market, there are alternative materials that offer different benefits. It is also crucial to consider the role of shingle manufacturers in providing quality roofing materials, as different brands offer unique features and benefits.
1) Metal Roofing:
Known for its longevity (50+ years) and durability, metal roofing is available in various styles and can mimic the look of shingles or tiles. It is more expensive upfront but offers excellent long-term value. Additionally, various roofing shingle brands provide homeowners and contractors with diverse options for asphalt shingles, emphasizing the importance of choosing the right shingles based on factors such as durability, design, and cost.
2) Wood Shingles and Shakes:
These provide a natural, rustic look and are eco-friendly. However, they require more maintenance and are susceptible to fire, mold, and pests.
3) Slate Shingles:
Highly durable and fire-resistant, slate shingles can last over 100 years. They are expensive and require a strong roof structure due to their weight.
4) Tile Roofing:
Available in clay or concrete, tile roofing is durable and offers a distinctive Mediterranean or Spanish look. It is heavy and requires a reinforced roof structure.
Top Roof Shingle Brands

There are many top roof shingle brands to choose from, each with their own unique features and benefits. Here is an overview of some of the top brands:
Overview of Top Brands
- Owens Corning: Owens Corning is renowned for its high-quality asphalt shingles, offering a wide range of styles and colors to suit various architectural designs. Their shingles are known for their durability and excellent performance in different weather conditions.
- GAF: As a leading manufacturer in the roofing industry, GAF provides a variety of roofing shingles, including architectural and luxury shingles. GAF shingles are celebrated for their innovative designs and robust warranties, making them a popular choice among homeowners and roofing contractors alike.
- CertainTeed: CertainTeed is a well-established brand offering a comprehensive range of roofing shingles, including asphalt and metal options. Known for their superior quality and extensive warranty coverage, CertainTeed shingles are a reliable choice for residential roofing projects.
- Malarkey: Malarkey is a popular choice among homeowners for its range of architectural and luxury shingles. The brand is known for its commitment to sustainability, offering shingles that are both durable and environmentally friendly.
- Tamko: Tamko is a well-known brand that provides a variety of roofing shingles, including asphalt and metal options. Tamko shingles are recognized for their affordability and decent performance, making them a budget-friendly option for many homeowners.
Brand Comparison
When comparing roof shingle brands, it’s essential to consider factors such as durability, cost, style, and warranty. Here is a comparison of some of the top brands:
| Brand | Durability | Cost | Style | Warranty |
|---|---|---|---|---|
| Owens Corning | High | Moderate | Wide range | 25-50 years |
| GAF | High | Moderate | Wide range | 25-50 years |
| CertainTeed | High | Moderate | Wide range | 25-50 years |
| Malarkey | High | Premium | Wide range | 25-50 years |
| Tamko | Moderate | Budget-friendly | Limited | 20-30 years |
Ultimately, the best roof shingle brand for you will depend on your specific needs and preferences. Be sure to research and compare different brands before making a decision. By considering factors such as durability, cost, style, and warranty, you can select the roofing shingles that best meet your requirements and enhance the beauty and functionality of your home.
Best Roof Shingles in Terms of Cost and Longevity

Choosing the best roof shingles involves balancing upfront cost with long-term durability and maintenance. Selecting the right roofing shingle brands is crucial for ensuring cost-effectiveness and longevity.
Cost-Effectiveness:
Asphalt shingles, particularly 3-tab shingles, are the most cost-effective option upfront. Architectural shingles offer a good balance between cost and durability.
Longevity:
While asphalt shingles typically last 20-30 years, architectural shingles can last up to 30-50 years. Metal roofing and slate shingles offer the longest lifespan, often exceeding 50 years or more with proper maintenance.
When You Should Replace Your Roof
Knowing when to replace your roof is crucial for maintaining your home’s structural integrity and preventing damage:
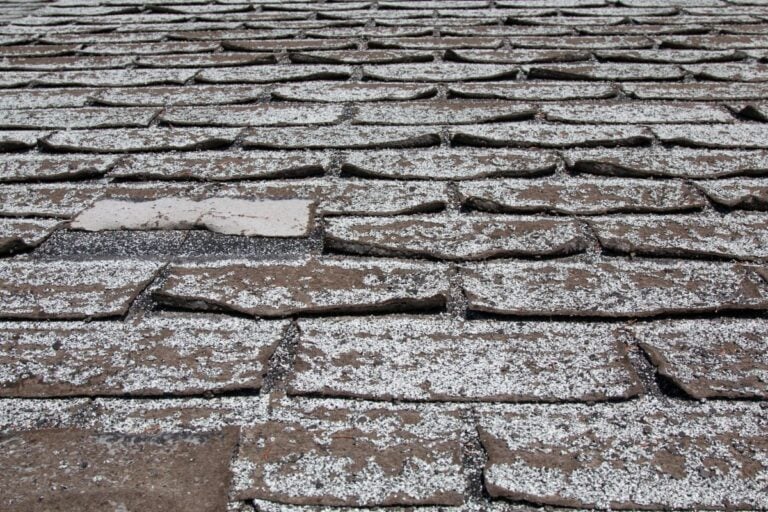
- Age of Roof: Most asphalt shingle roofs need replacement after 20-30 years. Signs of aging include curling shingles, bald spots, or excessive granule loss.
- Damage: Severe weather events like hailstorms or hurricanes can damage shingles, necessitating immediate inspection and possible replacement.
- Leaks: Water stains on ceilings or in the attic indicate roof leaks, which require prompt attention to prevent further damage to the roof structure and interior of the home.
Consulting roofing contractors is essential for assessing the condition of your roof and determining the need for replacement.
How to Choose the Right Style for You

Selecting the right style of roof shingles involves considering several factors:
- Architectural Style: Choose shingles that complement the architectural style of your home. For example, wood or slate-look shingles may suit traditional or historic homes, while sleek metal roofing may complement modern architecture.
- Color: Consider the color of your siding, trim, and overall exterior palette. Roof shingles should harmonize with these elements to enhance curb appeal.
- Texture and Pattern: Architectural and luxury shingles offer a range of textures and patterns that can add depth and character to your roof.
- Climate: Choose shingles that can withstand local weather conditions, whether it’s heat, cold, rain, or wind.
Additionally, GAF shingles, including popular products like Timberline HDZ shingles, are known for their quality and diverse offerings.
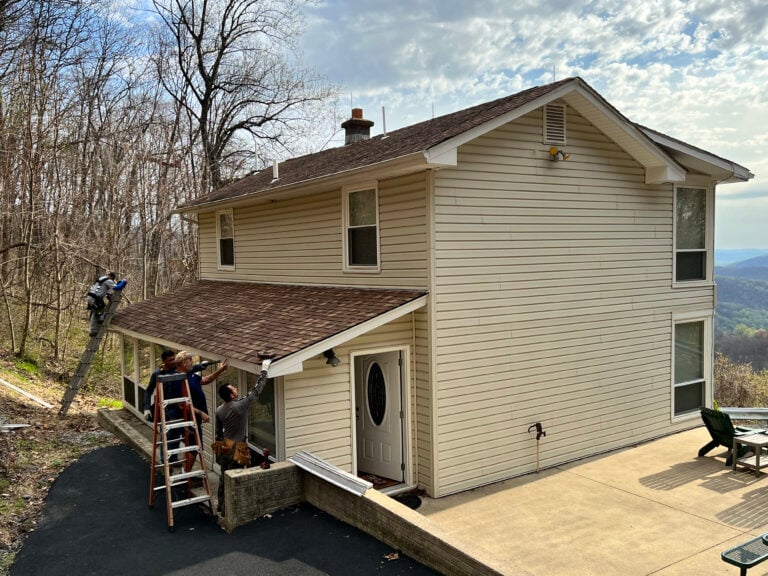
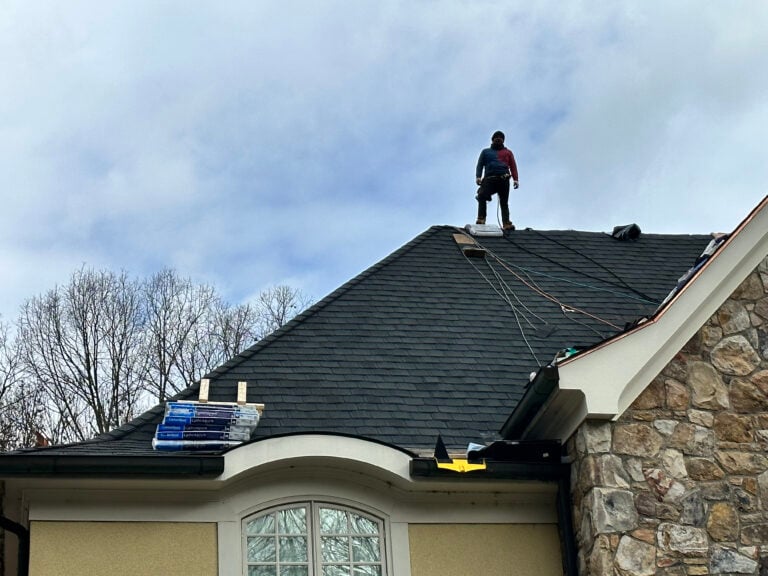
How to Find a Great Contractor to Work With
Finding a reliable roofing contractor is essential for a successful roof replacement or installation. It is also important to choose contractors who are familiar with leading shingle manufacturers and their products.
Research and Recommendations:
Ask friends, neighbors, or local community groups for recommendations. Research online reviews and ratings on trusted platforms.
Check Credentials:
Ensure the contractor is licensed, bonded, and insured. They should also be certified by the manufacturer to install their products properly.
Get Multiple Quotes:
Obtain estimates from several contractors. Compare the scope of work, materials used, warranties offered, and overall cost.
Communication and Contracts:
Clear communication is key. Ensure all details, including timelines, payment schedules, and warranties, are documented in a written contract before work begins.
Ask About Experience:
Inquire about the contractor’s experience with similar projects and request references to verify their workmanship and customer satisfaction.
Roofing Shingles You Can Count On
Choosing the best roof shingles involves considering your budget, aesthetic preferences, and long-term maintenance requirements. Asphalt shingles remain a popular choice for their affordability and variety, but alternatives like metal roofing and slate shingles offer superior longevity and durability.
When selecting roof shingles, prioritize quality installation by hiring a reputable contractor who can ensure your roof provides reliable protection and enhances the beauty of your home for years to come. Ready to install the best roofing shingles on the market? Contact Springfield Roofing to get started today!