When it comes to protecting your home from leaks, roof flashing repair is one of the most important maintenance tasks you can perform. Flashing, those thin metal strips installed around chimneys, vents, and roof edges, seals joints and keeps water from seeping into your home. Over time, flashing can rust, loosen, or crack, allowing water to sneak through and cause interior damage. This guide explains how to identify flashing problems, repair them safely, and know when to call a professional for help.
- Leak prevention: Properly installed flashing directs water away from vulnerable joints.
- Cost savings: Fixing flashing issues early prevents expensive structural repairs.
- Longevity: Regular flashing maintenance extends your roof’s lifespan.
What Roof Flashing Does And Why It Matters
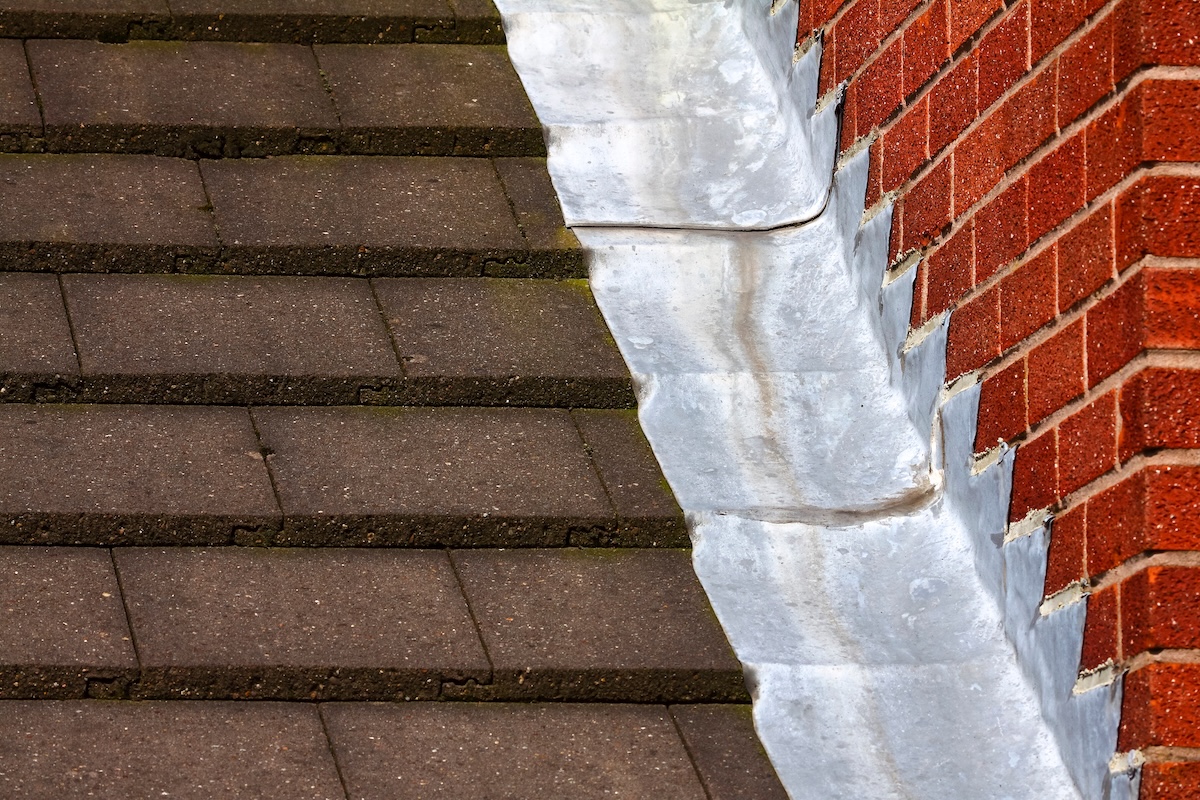
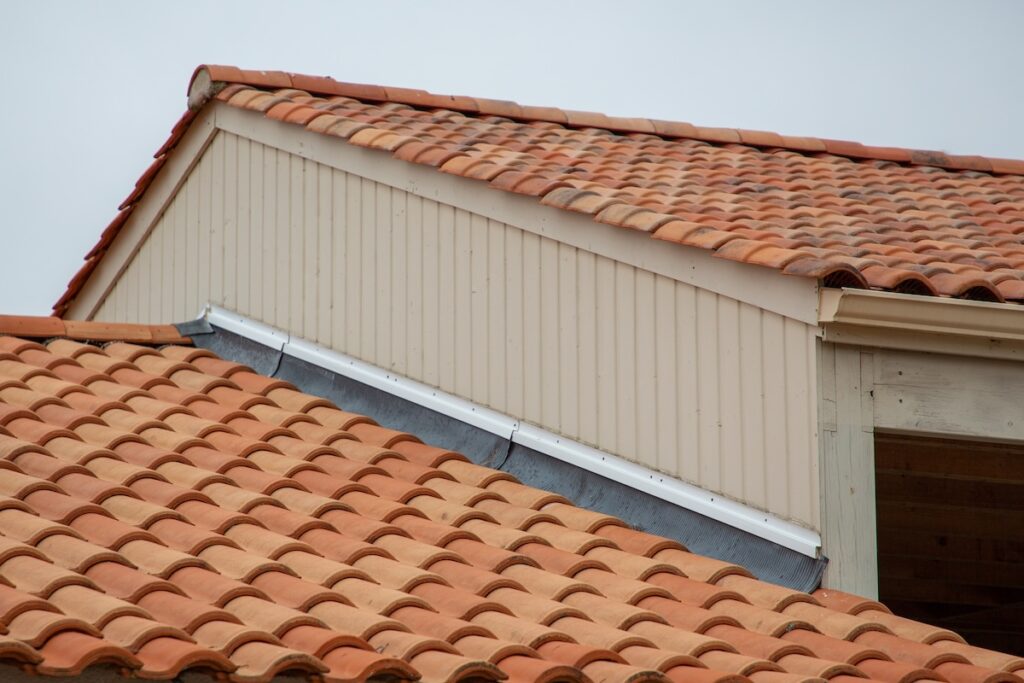
Flashing is your roof’s first line of defense against water infiltration. It’s typically made from aluminum, copper, or galvanized steel and installed wherever the roof meets a vertical surface or opening. In McLean and surrounding areas, where heavy rain and seasonal storms are common, damaged flashing can quickly lead to interior water stains, mold, or rot if ignored.
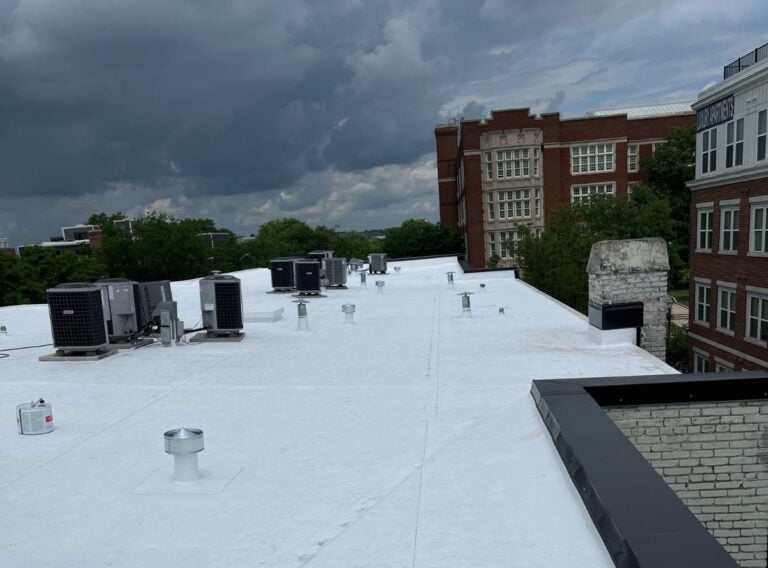
Common Flashing Locations
- Chimneys and skylights
- Roof valleys
- Vents and pipes
- Roof edges and eaves
- Dormer walls and roof transitions
Anywhere two surfaces meet, flashing plays a critical role in sealing gaps and directing water away from seams.
Signs Your Roof Flashing Needs Repair
Flashing can last decades when maintained, but exposure to the elements eventually wears it down. Here’s how to tell it’s time for roof flashing repair.
- Visible Rust Or Corrosion: If the metal appears discolored, flaky, or rusted, water can soon penetrate the affected areas. Corroded flashing loses its ability to form a watertight seal.
- Loose Or Lifted Sections: Wind, ice, or thermal expansion can cause flashing to loosen or separate from the roof. When this happens, water can flow directly beneath the shingles.
- Water Stains Or Leaks Indoors: Brown ceiling spots or peeling paint near chimneys and vents often point to flashing failure.
- Damaged Sealant: Cracked or missing caulk around flashing edges exposes the seams to moisture. Resealing may be enough if caught early.
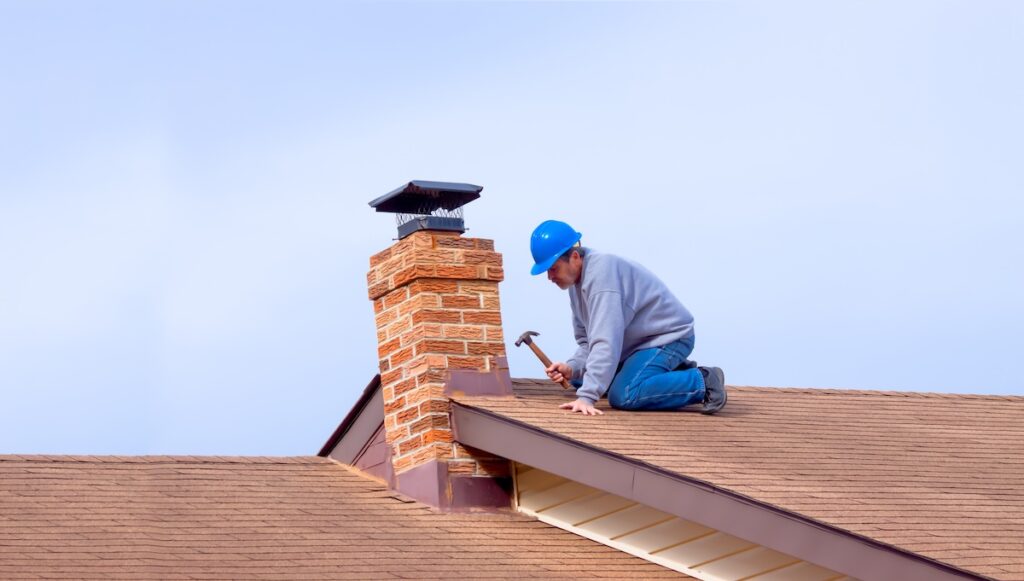
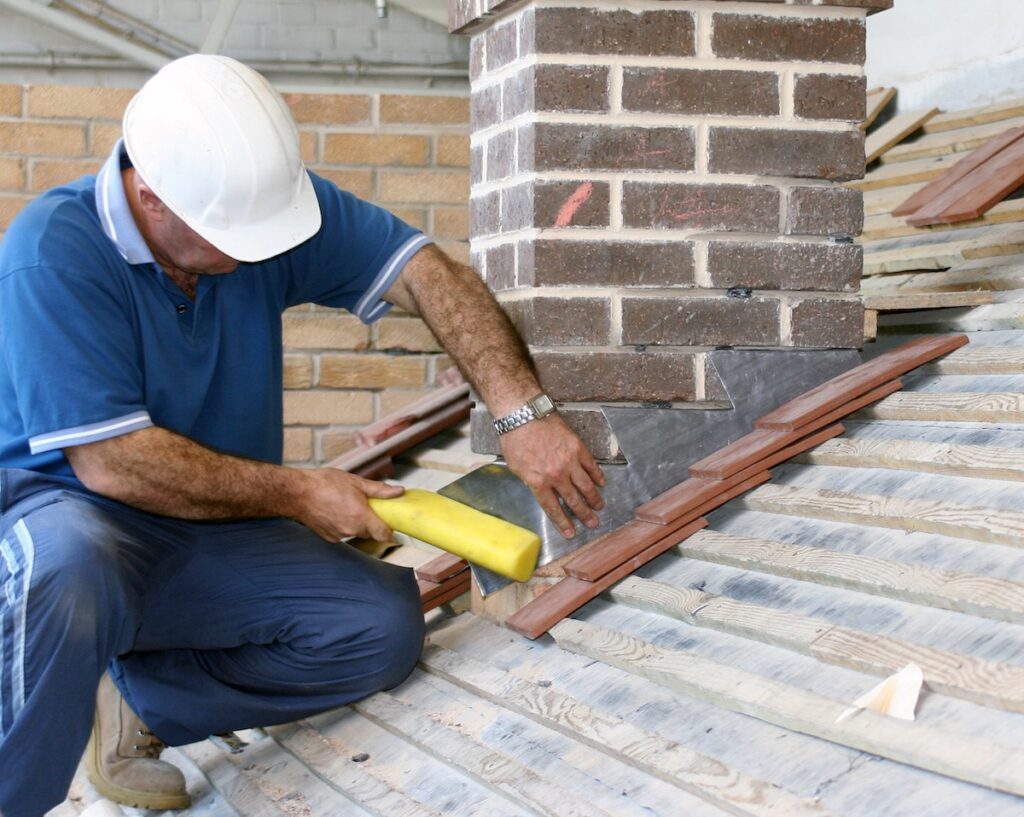
6-Step DIY Roof Flashing Repair Guide
Repairing flashing yourself is possible if you’re comfortable with basic roofing work and safety precautions. Follow these six steps to fix small flashing issues before they cause bigger problems.
- Inspect The Roof Safely:
Use a sturdy ladder, harness, and non-slip shoes. Choose a clear, dry day for inspection. Focus on flashing around chimneys, skylights, and vents. - Remove Debris And Old Sealant:
Use a putty knife or wire brush to remove dirt, leaves, and loose sealant. Clean surfaces ensure the new material bonds properly. - Tighten Or Replace Fasteners:
Re-secure any loose nails or screws holding the flashing in place. Replace rusted fasteners with galvanized or stainless steel alternatives to prevent future corrosion. - Apply Roofing Cement:
Spread roofing cement under lifted flashing edges, pressing it firmly back into position. Smooth excess cement along the seam for a watertight finish. - Patch Small Holes Or Cracks:
Use a metal repair patch and roofing cement to cover small punctures. For larger cracks, replace that section of flashing entirely. - Seal All Edges:
Once repairs are complete, apply a high-quality exterior-grade sealant along the top edge of the flashing where it meets brick, siding, or shingles. This prevents water infiltration and adds durability.
Materials And Tools You’ll Need
Before starting your flashing repair, gather these essentials:
- Roofing cement or flashing adhesive
- Exterior-grade caulk or sealant
- Putty knife and wire brush
- Replacement flashing (if needed)
- Metal snips
- Ladder and safety harness
- Gloves and safety glasses
Having everything ready before you begin makes the job safer and more efficient.
When To Replace Flashing Instead Of Repairing It
Sometimes a quick repair isn’t enough. If your flashing shows extensive rust, cracking, or detachment, replacement may be the best long-term solution.
Age And Condition
If your roof is over 20 years old, the flashing may be nearing the end of its life as well. Older flashing tends to warp and lose flexibility, especially around chimneys or valleys.
Structural Damage
If the underlying roof decking or masonry has been compromised, repairing the flashing alone won’t solve the issue. Water may already be seeping behind the metal or damaging framing.
Major Leaks
Persistent leaks around the same area often indicate a deeper problem. Replacing the entire flashing assembly ensures a proper seal.
Types Of Flashing Used In Roof Systems
Knowing which type of flashing you’re dealing with can help you determine the best repair method.
- Step flashing: Used where a roof meets a sidewall; small metal pieces overlap with each shingle layer.
- Continuous flashing: Runs along edges or walls, providing long, unbroken protection.
- Valley flashing: Installed in roof valleys to guide rainwater downward.
- Vent pipe flashing: A metal collar surrounds roof penetrations to block leaks.
- Drip edge flashing: Protects roof edges and directs water into gutters.
Each flashing type plays a unique role, so repairing or replacing the correct section is essential for a leak-free roof.

Preventing Future Flashing Problems
Once your repairs are complete, take a few preventative steps to keep your flashing in good shape year-round.
- Inspect annually: Schedule roof inspections once a year or after major storms.
- Keep gutters clean: Blocked gutters cause water to back up and seep under flashing.
- Seal regularly: Reapply sealant every few years, especially around chimneys and vents.
- Trim nearby branches: Overhanging limbs can scrape flashing or drop debris that traps moisture.
- Maintain attic ventilation: Proper airflow prevents condensation from corroding metal components.
Homeowners in McLean and surrounding areas often combine flashing maintenance with seasonal roof cleanings to protect against heavy rain and freeze-thaw cycles.
Why Professional Flashing Repair May Be Worth It
While small touch-ups can be done yourself, hiring a professional for flashing repair ensures the job is done correctly. Roofers have the tools to safely access steep roofs, inspect hidden damage, and replace sections without disturbing nearby shingles.
They can also check for secondary issues like deteriorating underlayment or improper slope, which often contribute to leaks. A small flashing repair done wrong can cause bigger—and more expensive—issues later.
Protect Your Home With Proper Flashing Care
Your roof’s flashing may not be the most visible part of your home, but it’s one of the most important defenses against water damage. Performing roof flashing repair when issues first appear can prevent costly leaks and structural decay down the line.
If you’ve noticed rusted or lifted flashing, or you’re unsure whether your roof needs attention, reach out to Springfield Roofing & Sheet Metal for expert guidance and a free estimate. Our trusted team proudly serves McLean and surrounding areas, helping homeowners maintain durable, weather-resistant roofs that stand the test of time.