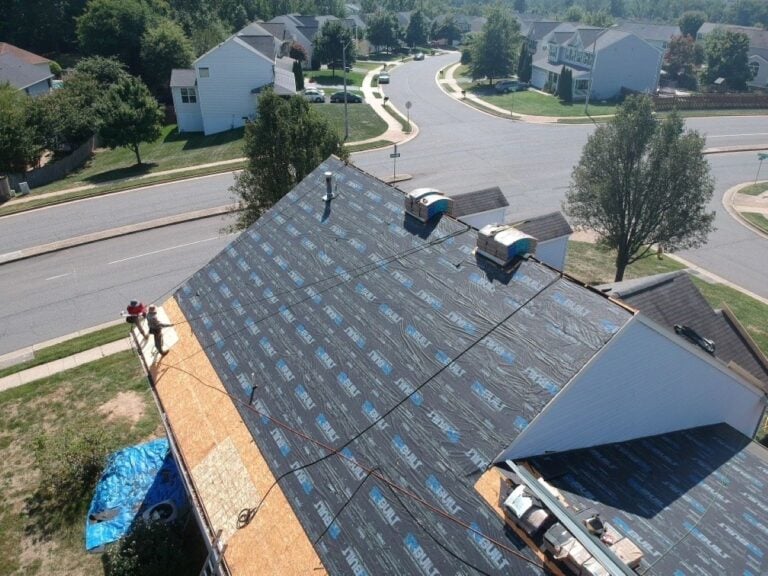
Roof flashing might not be the most glamorous aspect of your home, but it plays a crucial role in keeping your house dry and structurally sound. Roof flashing is an unsung hero that prevents water from seeping into vulnerable areas of your roof and causing costly damage.
That’s why, today, we’re taking you through everything related to roof flashing, including:
- Its purpose
- Types
- Materials
- Maintenance
Whether you’re a homeowner, a DIY enthusiast, or a roofing professional, understanding roof flashing is essential for ensuring the longevity and integrity of your roof.
What is Roof Flashing and What Does It Do?

Roof flashing is a thin, weather-resistant material installed around roof penetrations, junctions, and edges to prevent water intrusion. Its primary function is to redirect water away from vulnerable areas where leaks are most likely to occur. Without proper flashing, rainwater, melting snow, or debris can seep into gaps, causing water damage, mold growth, and structural issues.
Different Types of Roof Flashing
Not all roof flashing is the same! Different styles of roof flashing serve different purposes. It’s important to know what type you are dealing with.
- Step Flashing: Used around areas where the roof intersects with vertical surfaces such as walls or dormers. Step flashing consists of small, interlocking pieces that are layered with roofing shingles to create a watertight barrier.
- Chimney Flashing: Specifically designed to seal the gap between the chimney and the roof. Chimney flashing typically consists of two parts: base flashing, which is installed directly onto the roof, and counterflashing, which covers the base flashing and is embedded into the chimney’s mortar joints.
- Valley Flashing: Installed in roof valleys, where two roof slopes meet. Valley flashing helps channel water down the roof and away from vulnerable areas.
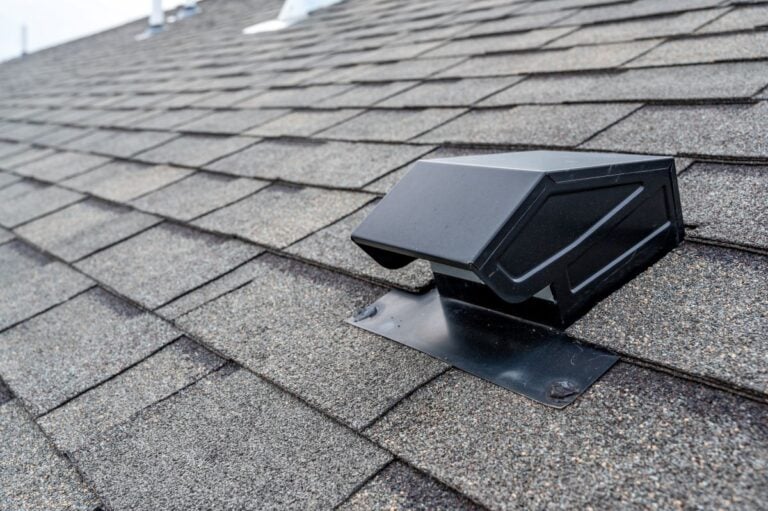
- Vent Pipe Flashing: Seals the gap around vent pipes that protrude through the roof. Vent pipe flashing typically consists of a rubber boot that fits snugly around the pipe, with a metal flange that is secured to the roof.
- Drip Edge Flashing: Installed along the edges of the roof to direct water away from the fascia and into the gutters. Drip edge flashing also helps prevent wind-driven rain from infiltrating under the roof.
3 Different Roof Flashing Materials
Roof flashing comes in three different distinct materials, including:
1) Metal Flashing:
Common materials include aluminum, copper, and galvanized steel. Metal flashing is durable, weather-resistant, and often preferred for its longevity.
2) Rubber Flashing:
Made from synthetic rubber compounds such as EPDM (ethylene propylene diene monomer) or neoprene. Rubber flashing is flexible, easy to install, and suitable for curved or irregular surfaces.
3) PVC Flashing:
Constructed from polyvinyl chloride, PVC flashing is lightweight, cost-effective, and resistant to corrosion and UV damage.
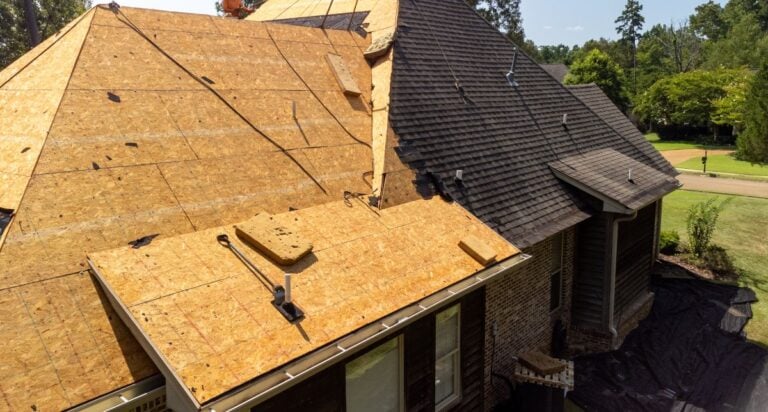
When to Replace Your Roof Flashing
Regular inspection is key to identifying signs of wear and tear in your roof flashing. Here are some indicators that it may be time to replace your flashing:
- Visible Damage: Look for cracks, rust, corrosion, or missing pieces in the flashing material.
- Water Leakage: If you notice water stains on your ceilings or walls, it could indicate a failure in the flashing system.
- Loose or Lifting Flashing: Flashing that has become detached or is lifting away from the roof surface is no longer effective in preventing water intrusion.
- Age: As with any roofing component, flashing has a lifespan. Depending on the material and environmental factors, flashing may need replacement every 10 to 20 years.
The Cost of Roof Flashing Repair and Replacement

The cost of repairing or replacing roof flashing can vary depending on factors such as the extent of damage, the type of flashing material, and the complexity of the roof design. On average, homeowners can expect to pay between $200 to $600 for flashing repair, while a full replacement may cost between $500 to $1,500 or more. It’s important to obtain multiple quotes from reputable roofing contractors to ensure you’re getting a fair price.
How to Maintain Your Roof Flashing
Regular maintenance can extend the lifespan of your roof flashing and prevent costly repairs down the line. Here are some maintenance tips to keep your flashing in top condition:
- Clean Gutters and Downspouts: Clogged gutters can cause water to overflow onto the roof, compromising the integrity of the flashing. Clean gutters regularly to ensure proper drainage.
- Inspect for Damage: Conduct visual inspections of your roof flashing at least twice a year, paying attention to areas prone to wear and tear.
- Sealant Inspection: Check the sealant around flashing joints for signs of deterioration or cracking. Replace old sealant as needed to maintain a watertight seal.
- Trim Overhanging Branches: Tree branches that hang over the roof can scrape against flashing, causing damage over time. Trim back branches to prevent contact with the roof surface.
- Schedule Professional Inspections: Hire a qualified roofing contractor to inspect your roof flashing periodically and address any issues promptly.
How to Inspect Your Roof Flashing
Performing regular inspections of your roof flashing can help identify potential problems early on. Here’s a step-by-step guide to conducting a thorough inspection:
Check Flashing Seams:
Examine the seams where flashing pieces overlap for signs of separation or gaps.
Inspect Caulking and Sealant:
Look for cracks, gaps, or missing sealant around flashing joints. Reapply sealant as needed to maintain a watertight seal.
Examine Metal Flashing:
Inspect metal flashing for signs of rust, corrosion, or damage. Replace any corroded or deteriorated flashing promptly.
Assess Attachment Points:
Ensure that flashing is securely fastened to the roof surface and that there are no loose or missing nails or screws.
Look for Water Stains:
Check interior walls and ceilings for water stains, which may indicate a leak in the flashing system.
Inspect Vent Pipe Flashing:
Check the rubber boot around vent pipes for cracks or deterioration. Replace the boot if necessary to prevent water intrusion.
Keep Your Roof Flashing In Top Notch Shape!
Roof flashing may not be the most glamorous aspect of roofing, but it plays a vital role in protecting your home from water damage and prolonging the life of your roof. By understanding the different types of flashing, materials, maintenance techniques, and inspection methods, homeowners can ensure that their flashing system remains in optimal condition.
Remember, regular maintenance and prompt repairs are key to preserving the integrity of your roof flashing and safeguarding your home against the elements. So, when you suspect flashing damage, don’t hesitate to call on the team of professionals at Springfield Roofing!