Most roof leaks do not start with a missing shingle. They start underneath, where melting snow, wind-driven rain, and backed-up gutters find a way past the surface. That is exactly the problem ice and water shield was designed to solve. This self adhered underlayment sits below your asphalt shingles and seals the vulnerable areas where water infiltration usually begins. If you want a clearer picture of keeping water out of the most vulnerable parts of your home, understanding this layer is a great place to start.
Here’s a quick look at what this guide covers:
- What ice and water shield is and how it works
- The six areas of a roof where it matters most
- How it compares to felt and synthetic underlayment
- Answers to common homeowner questions
Why This Hidden Layer Makes a Big Difference
Ice and water shield, sometimes called an ice shield or ice and water barrier, is a rubberized asphalt membrane with a peel-and-stick back that bonds directly to the roof deck. Unlike traditional underlayment, which is fastened down and simply sheds water, it forms a true waterproof barrier that holds up even when water pools or backs up under the shingles.
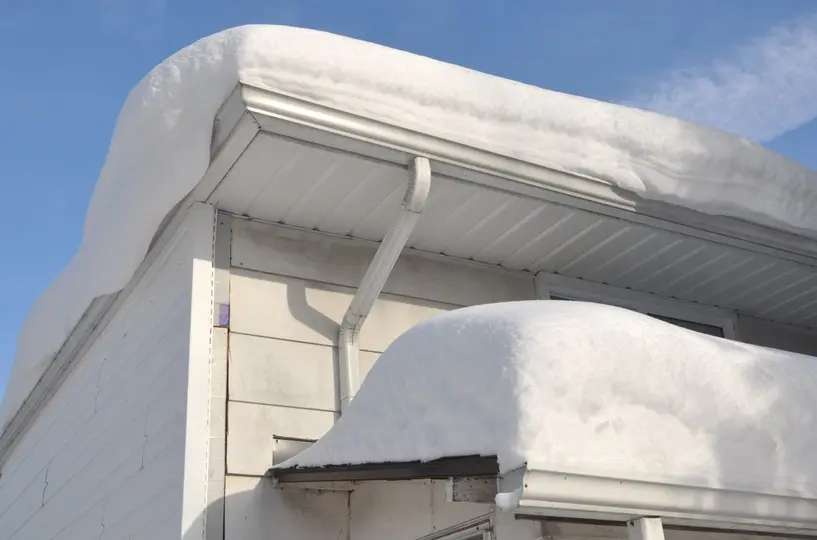
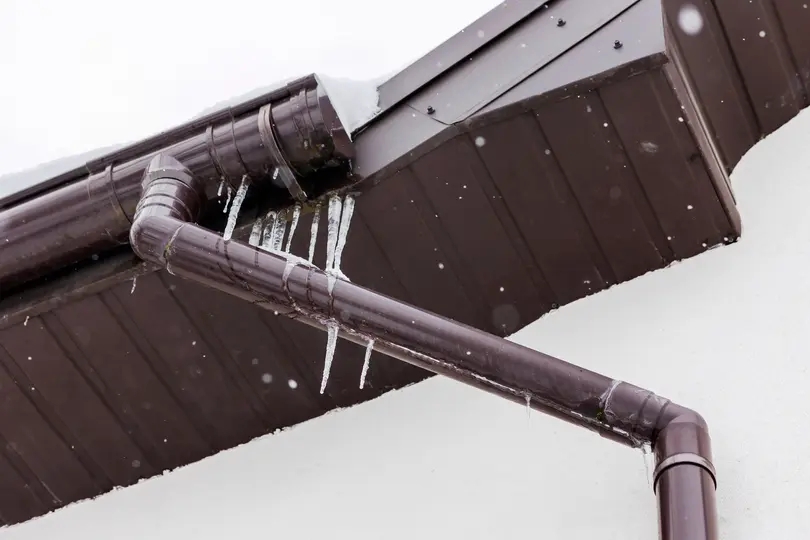
For homeowners in McLean and surrounding areas, that matters every winter. Northern Virginia sees regular freeze and thaw cycles, and that is the perfect recipe for ice dams that push water up under the roof edge. Here is what the membrane does for you:
- Leak prevention at weak points: It seals eaves, valleys, and roof penetrations where standard underlayment can let water through.
- Self-sealing around nails: The rubberized material grips each fastener that passes through it, closing off a common path for leaks.
- Protection for the roof deck: Keeping moisture away from the plywood helps prevent rot, mold, and sagging over time.
- Peace of mind during storms: Heavy downpours and wind-driven rain are far less likely to reach your attic.
Think of it as an insurance policy that lives under your shingles. You may never see it after installation, but it is quietly working every time the weather turns.
6 Places Ice and Water Shield Protects Your Roof
Not every square foot of your roof faces the same level of risk. Some areas collect more water, sit colder, or have more seams and openings, which is why roofers focus ice and water shield on these specific zones.
1. Eaves and Roof Edges
The eaves are the lower edges of your roof that hang past the exterior walls. Because they extend beyond the heated part of the house, they stay colder than the rest of the roof, and that is where ice dams form. Building codes require ice barriers in colder climates with a history of ice damming, and codes based on the International Residential Code call for coverage from the edge to at least 24 inches inside the exterior wall line.
- Usually installed in one or two courses, depending on roof pitch and overhang depth
- The most common and most important placement
2. Valleys
Valleys are the channels where two roof slopes meet. They carry a large volume of water during every rain, so even a small gap can turn into a serious leak. A full-width strip of membrane down the center of each valley adds a reliable waterproof layer.
3. Around Chimneys
Chimneys interrupt the roof surface and rely on flashing to stay watertight. Adding ice and water shield beneath and around the flashing gives you a backup if the metal or sealant ever ages or shifts.
4. Skylights and Roof Windows
Skylights bring in beautiful natural light, but every opening is a potential entry point for water. Membrane wrapped around the curb of the skylight helps keep moisture from creeping in at the corners.
5. Vent Pipes and Other Roof Penetrations
Plumbing vents, exhaust fans, and attic vents all pass through the roof deck. A patch of membrane around each one adds a self-sealing layer below the pipe boot or vent flashing.
- Especially helpful on older homes with multiple bathroom vents
- Reduces the risk of slow, hidden leaks that stain ceilings over time
6. Low-Slope Sections
Porches, additions, and dormers sometimes have shallower pitches than the main roof. Water drains more slowly on these surfaces, so many roofers cover the entire low-slope area with membrane rather than just the edges.
Each of these spots shares one thing in common: water either collects there or has an easy path inside. Covering them with ice and water shield turns the weakest parts of your roof into some of the best protected.
How Proper Installation Gets the Most Out of It
Ice and water shield only performs as well as it is installed. The material is simple in concept, but the details decide whether it keeps your home dry for decades or fails early.
It Goes Directly on a Clean Deck
The membrane needs to stick to bare, dry, clean roof decking. Installing it over old felt, synthetic underlayment, or debris can cause poor adhesion and wrinkles, and membrane wrinkling can direct water toward the roof deck instead of away from it. That is one reason it is typically added during a full roof replacement rather than a quick repair.
Overlaps Must Shed Water
Each course should overlap the one below it so water always flows over a seam, never into it. Side laps and end laps follow the manufacturer’s marked lines to create a continuous barrier.
Temperature Matters
The adhesive bonds best in moderate weather. In cold weather applications, installers may need extra steps to make sure the membrane seals properly once they peel the release film. Sun matters too, since UV exposure can degrade the membrane if it sits uncovered too long. Grace Ice & Water Shield has a 90-day exposure limit, while Owens Corning Titanium PSU30 allows up to six months of UV exposure.
Ventilation Still Counts
Because the membrane does not breathe, it works best alongside proper ventilation and insulation. Good airflow keeps warm interior air from heating the roof deck, which also helps reduce ice dams in the first place.
- High-temp versions: Metal and dark roofs get very hot, so a product with a high temperature rating keeps the adhesive from softening. GAF StormGuard is rated to 250°F, and Grace Ultra withstands temperatures up to 300°F.
- Coverage plan: A good contractor will map out eaves, valleys, ridges, and penetrations before the tear-off process begins.
When these steps are done right, the membrane becomes a permanent part of the roof system. When they are skipped, even premium materials can let you down.
Ice and Water Shield vs. Other Underlayments
Your roof usually has more than one type of underlayment working together. Ice and water shield handles the high-risk zones, while felt or synthetic underlayment typically covers the rest of the deck.
| Feature | Ice and Water Shield | Synthetic Underlayment | Asphalt Felt |
| Waterproof seal | Fully waterproof, self-adhering | Water-resistant | Water-resistant |
| Seals around nails | Yes | No | No |
| Typical use | Eaves, valleys, penetrations | Main roof field | Main roof field, older homes |
| Tear resistance | High | High | Low to moderate |
| Surface | Granulated or slip resistant film | Slip resistant | Can be slick when wet |
| Breathability | None | Varies by product | Some |
| Relative cost | Highest | Moderate | Lowest |
The takeaway is simple: these products are partners, not rivals. Ice and water shield costs more per roll (GAF WeatherWatch, a granulated option, runs around $40 per square), so it is placed where it delivers the biggest payoff, while synthetic underlayment provides lightweight, durable coverage across the larger field of the roof. In storm-heavy places like Florida, building codes dictate specific roof-covering and underlayment requirements, and full coverage is more common. Membrane installation always varies based on climate, local code, and roof design, but for most homes in McLean and surrounding areas, strategic placement makes the most sense.
If you are comparing roofing estimates, look for line items that spell out where the membrane will go and how many courses will be installed at the eaves. Vague descriptions can hide shortcuts, while a detailed scope shows you exactly what you are paying for.
Frequently Asked Questions About Ice and Water Shield
Homeowners often have a few follow-up questions once they learn what sits beneath their shingles. Here are some of the ones we hear most.
Is ice and water shield required by code?
In many areas, yes. Codes based on the International Residential Code require an ice barrier at the eaves wherever there is a history of ice forming along the roof edge. Local requirements can vary, so your roofing contractor should confirm what applies to your home.
Can it be added without replacing the whole roof?
It is possible to remove shingles along the eaves or valleys and install membrane in those spots. However, it works best on a clean deck, so a full replacement is usually the most effective time to add it.
Does a metal roof need ice and water shield?
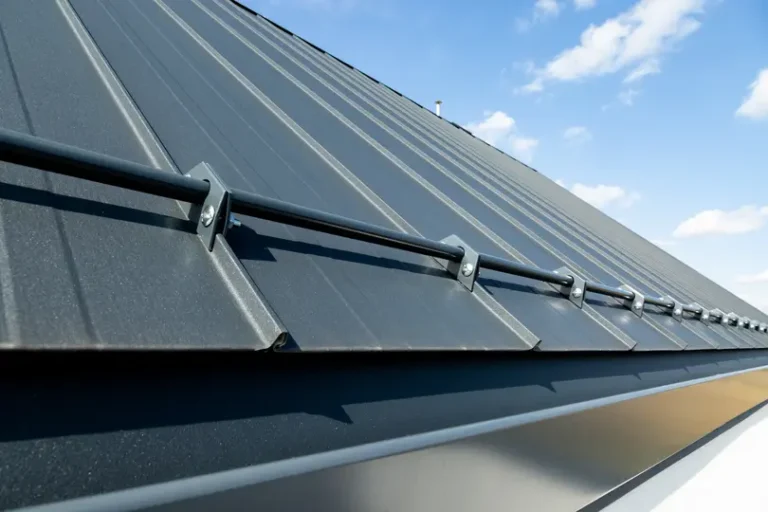
Metal roofs shed snow well, but valleys, edges, and penetrations still benefit from the extra protection. A high-temperature membrane is the most suitable choice under metal panels.
How long does ice and water shield last?
When installed correctly and protected by roofing material, it typically lasts as long as the roof itself. It is designed to be a long-term part of the system.
Should my whole roof be covered in it?
For most homes, no. Full coverage can trap moisture if attic airflow is insufficient. Targeted placement in high-risk areas is the standard approach.
Every roof is a little different, so the right coverage plan depends on your roof pitch, layout, and attic conditions. A quick inspection is the easiest way to know what your home needs.
Keep Water Out Before It Becomes a Problem
Ice and water shield is one of those details that rarely gets attention until something goes wrong. Adding it to the right places during your next roof project is a small step that can save you from water stains, rotted decking, and costly repairs down the road.
At Springfield Roofing, we include careful underlayment planning in every project, so the vulnerable parts of your roof get the protection they deserve. We proudly serve homeowners in McLean and surrounding areas with honest recommendations and quality workmanship. Have questions about your roof or ready to schedule an inspection? Contact us today and let our team help you build a roof that stays dry for years to come.