When it comes to roofing options that bring natural beauty, durability, and timeless charm to your home, cedar shake roofs stand out as a favorite among homeowners.
These wood shingles not only provide a rustic, sophisticated appearance, but they also offer exceptional performance when installed correctly. If you’re considering a new roof or replacing your existing system and want to learn more about cedar shake roof installation, you’re in the right place!
At Springfield Roofing, we believe informed decisions lead to satisfied customers. This blog will walk you through everything you need to know about cedar shake roofing:
- Its benefits
- The shake roof installation process
- Tips for maintenance
Why Choose a Cedar Shake Roof for Your Home?

Before jumping into the details of installation, let’s talk about why cedar shakes are an excellent choice for your roofing needs.
- Timeless Beauty: Cedar shake roofs offer unparalleled visual appeal. They exude a natural elegance that complements a wide range of architectural styles—whether you own a charming cottage, a modern craftsman home, or a classic colonial. Over time, cedar shakes age beautifully, developing a silver-gray patina that enhances their rustic appeal.
- Durability: Cedar is known for its natural strength and resistance to the elements, making cedar shakes exceptionally durable. With proper installation and maintenance, a cedar shake roof can last up to 30 years or longer.
- Energy Efficiency: Thanks to the insulating properties of cedar wood, cedar shake roofs help regulate indoor temperatures, keeping your home cooler in the summer and warmer in the winter. This natural insulation can reduce energy bills over time.
- Eco-Friendly Roofing Option: Cedar shakes are made from a renewable resource, making them an environmentally friendly choice. Additionally, they are biodegradable, which means they won’t contribute to long-term waste.
- Resistance to the Elements: Cedar contains natural oils that protect it from moisture, pests, and even decay. Cedar shakes are also highly wind-resistant roofing, making them a reliable choice for homeowners in areas prone to storms. Now that you’re convinced of the benefits, let’s explore how cedar shakes are installed and how Springfield Roofing can help you achieve the roof of your dreams.
The 7 Step Cedar Shake Roof Installation Process
Installing a cedar shake roof is a precise process that requires skill, attention to detail, and quality materials. Here’s a breakdown of the steps professionals follow to ensure a flawless result.
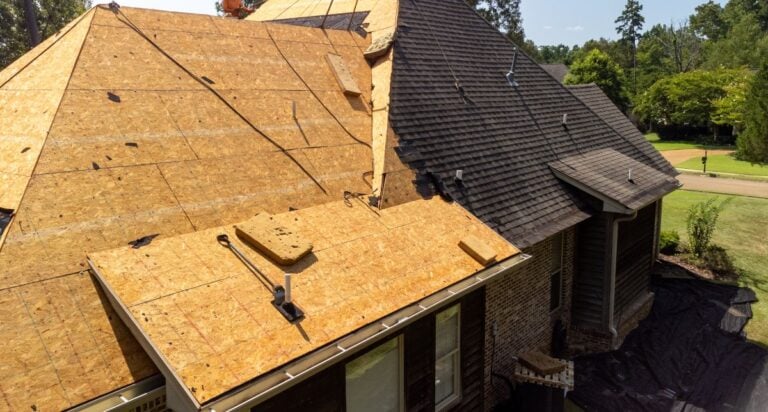
Step 1: Inspection and Preparation
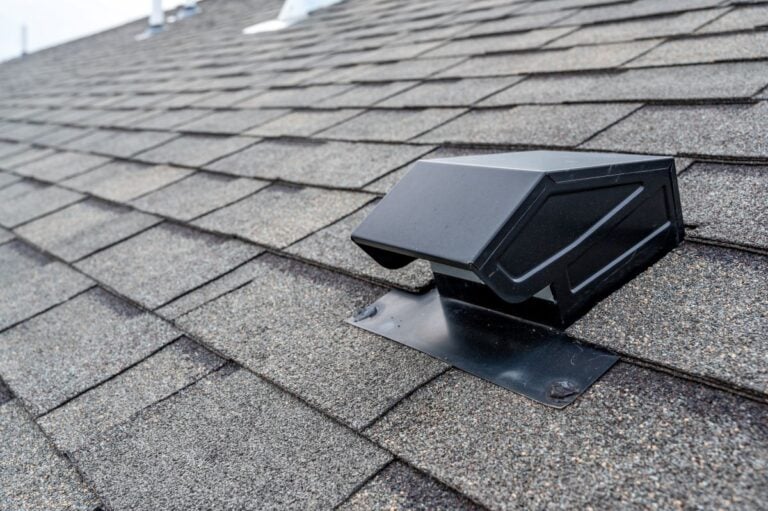
Before installation begins, the Springfield Roofing team will thoroughly inspect your property. We look for structural issues, assess the roof’s slope, check for proper ventilation, and ensure the surface is ready to support the weight of cedar shakes.
Tip: A cedar shake roof installation often requires replacing old roofing underlayment to ensure a durable and leak-free foundation.
Step 2: Choosing High-Quality Materials
Cedar shakes come in two main types—hand-split and taper sawn. Hand-split shakes have a more rugged, rustic appearance, while taper-sawn shakes are smoother and offer a more refined look.
Springfield Roofing works exclusively with high-quality cedar shakes that meet industry standards and withstand harsh weather conditions.
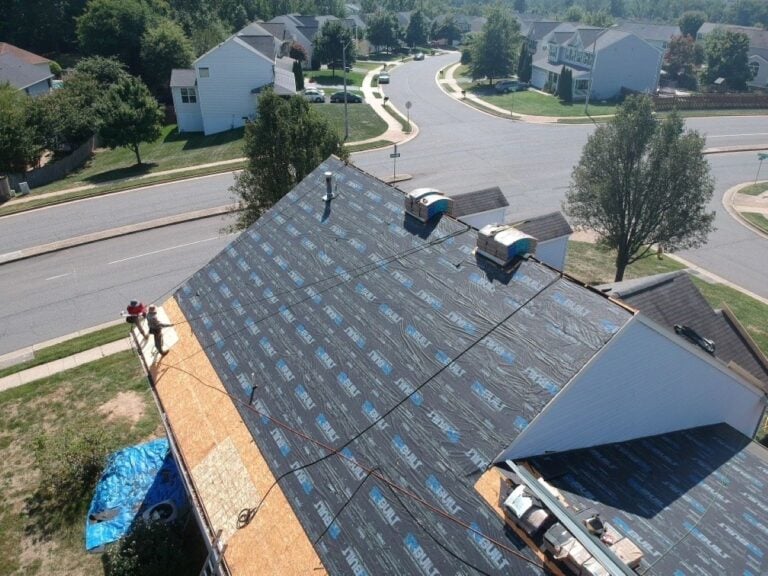
Step 3: Installing the Underlayment
The underlayment acts as a protective barrier between the cedar shakes and the roof deck. Our team uses waterproof, breathable materials to guard against moisture and leaks while allowing the roof to “breathe.”
Step 4: Starter Row Installation
We begin by installing the “starter row” of cedar shakes at the bottom edge of the roof. This row serves as the base layer, providing support for the subsequent rows of shakes.
Pro Tip: Proper alignment of the starter row is critical for the overall appearance and performance of the roof.
Step 5: Installing the Shakes
Cedar shakes are carefully installed in overlapping rows to create a layered look and ensure water flows off the roof effectively. Each shake is attached with corrosion-resistant nails or staples to prevent rusting over time.
Our team follows these key techniques for superior results:
- Alternating the width of shakes to avoid a repetitive pattern.
- Maintaining the proper gap (known as a keyway) between shakes to allow for expansion.
- Using a staggered layout for added dimension and aesthetic appeal of your home.
Step 6: Ridge Cap Installation
Once the main field of the roof is complete, we install ridge caps along the peak of the roof. This step provides a finished look while ensuring complete protection from weather.
Step 7: Final Inspection and Clean-Up
After the installation is finished, our crew performs a final inspection to confirm every shake is securely in place and the roof is watertight. We also clean up the worksite, leaving your property pristine.
Cedar Shake Roof Maintenance Tips

Cedar shake roofs are low-maintenance compared to some other roofing materials, but they still benefit from routine care. Here are a few simple tips to extend the life of your roof and maintain its beauty.
- Keep It Clean: Remove debris like leaves, twigs, or moss from the surface of your roof to prevent buildup and water retention, which can lead to decay over time.
- Trim Overhanging Branches: Trees can drop debris onto your roof or scrape against the shingles during a storm. Keep branches trimmed and away from your roof for added protection.
- Regular Inspections: Have your roof inspected by professional roofers at least once a year (or after severe weather) to spot any signs of damage early.
- Apply Protective Treatments: Consider applying a preservative or water-repellent coating to enhance the cedar wood’s durability and protect against moisture.
- Address Repairs Promptly: Cedar shake roofs are highly durable, but occasional shakes may become damaged due to weather or impacts. Prompt repairs can prevent minor issues from becoming costly problems.
FAQs About Cedar Shake Roof Installation

Got a question? Our experienced roofers have put together a guide with all of the facts that you need to know about a cedar shake roofing system.
Q: How long does the installation process take?
On average, cedar shake roof installation takes about 5 to 7 days for a standard-sized roof. However, timelines may vary depending on the scale and complexity of the project.
Q: How much does a cedar shake roof cost?
Cedar shake roofs are considered a premium roofing material. Costs will depend on factors like the size of your roof and the type of shakes you choose. For an accurate estimate, contact Springfield Roofing for a free consultation.
Q: Are cedar shake roofs fire-resistant?
Many cedar shakes are treated with fire-resistant coatings to meet modern safety standards. Be sure to ask about these options during your consultation.
Q: Can I install cedar shakes over an existing roof?
While some roof installations allow for layering, cedar shakes typically require a proper removal of the old roof to ensure a strong foundation.
How to Get Started with Springfield Roofing
Considering adding a cedar shake roof to your home? Springfield Roofing is here to help. From expert advice to flawless installations, we’re committed to ensuring your experience is smooth and stress-free.
Get started today with a free consultation! Our team will assess your needs, provide recommendations, and deliver a detailed estimate. Your dream cedar shake roof is just a call away—experience the unmatched beauty and long-lasting performance it offers!