Standing seam metal roof installation is a precise process that combines structural integrity with sleek aesthetics. Known for its durability and clean vertical lines, this type of roofing system has become increasingly popular with homeowners looking for long-term performance and modern curb appeal.
- Exceptional longevity: Standing seam systems can last 40–70 years with minimal upkeep.
- Superior weather protection: Concealed fasteners prevent water intrusion and uplift.
- Low-maintenance: Less prone to leaks and damage compared to traditional roofing materials.
In this guide, we’ll walk you through the installation process in seven simple steps so you can better understand what to expect from your roofing project.
🤔 Why Choose a Standing Seam Metal Roof?
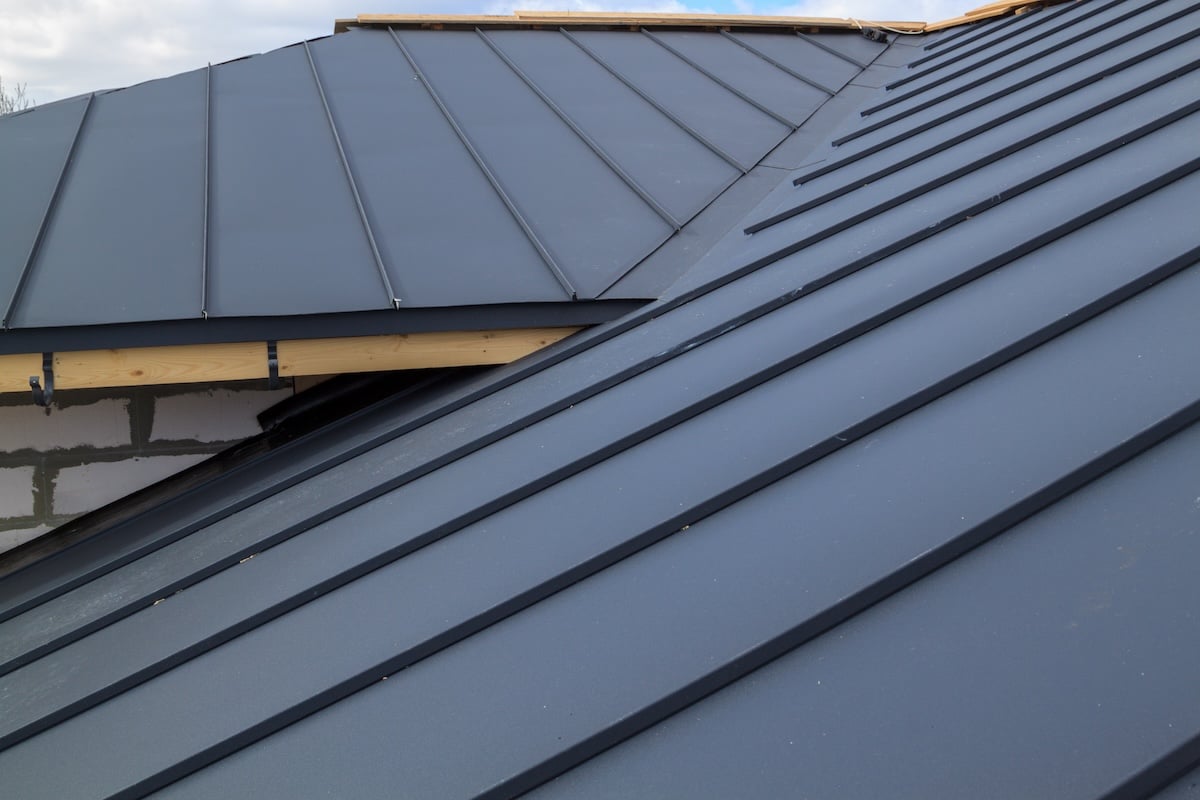
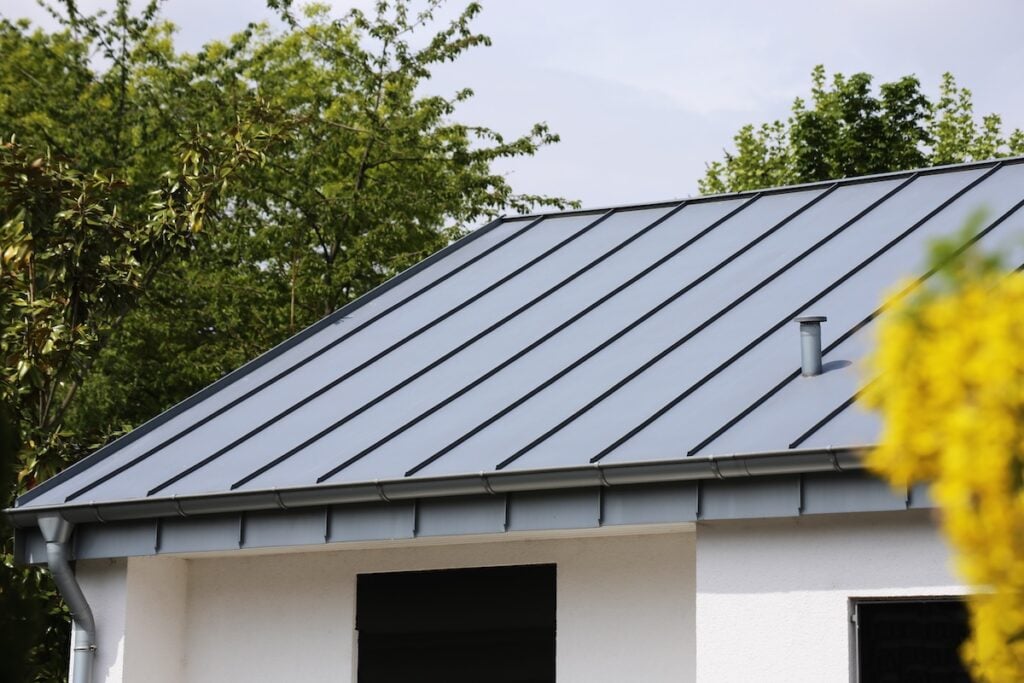
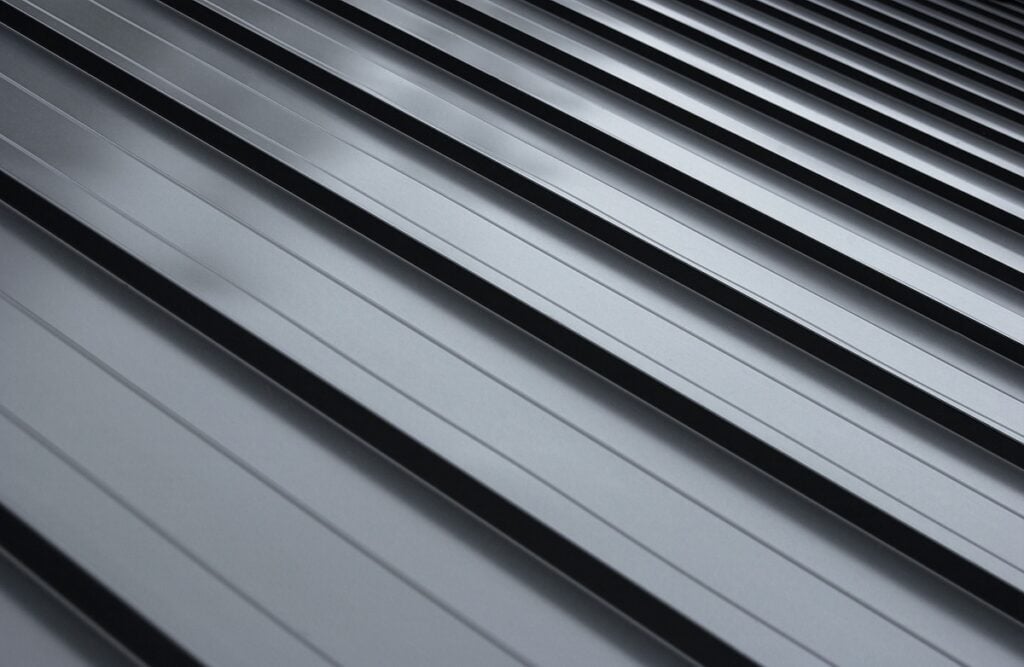
Standing seam roofs feature raised interlocking seams that connect metal panels vertically along the roof surface. This design keeps fasteners hidden beneath the panels, reducing wear from weather exposure and delivering a sleek, uninterrupted look.
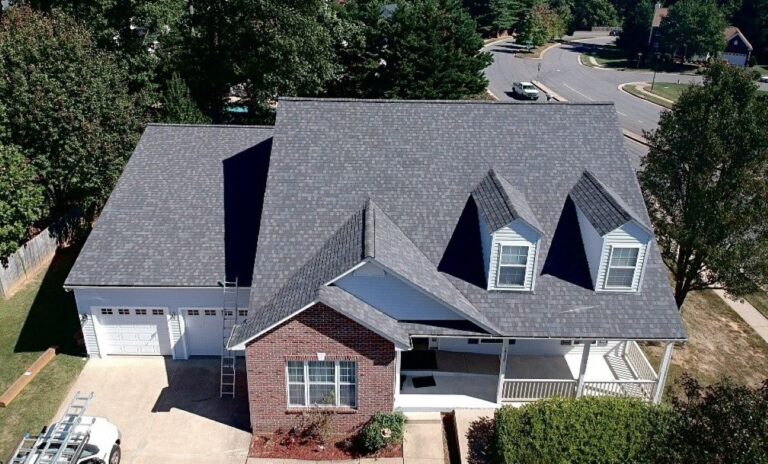
Ideal for both residential and commercial properties, standing seam metal roofs offer superior resistance to wind, hail, and heavy rain. Their energy efficiency and long service life make them a smart investment for homeowners who want durability and style. For many homeowners, deciding between a standing seam system and traditional asphalt shingles comes down to cost and longevity. Our breakdown of metal roof vs shingles can help clarify the differences.
🛠️ Tools and Materials Needed
Before diving into the installation steps, here’s what contractors typically use during a standing seam project. These components are essential for achieving a proper, watertight finish.
- Standing seam metal panels: Custom-cut to roof specifications
- Underlayment: Usually synthetic or peel-and-stick waterproof material
- Drip edge flashing: Protects the perimeter and improves water runoff
- Cleats and clips: Secure panels without exposed screws
- Seamers: Specialized tools used to crimp and lock panel seams
- Ridge caps and trim: Finish the roof with weather-tight detail
- Fasteners and sealant: Used sparingly on flashing or hidden areas only
Now, let’s walk through the process step by step.
✅ 7 Steps to Install a Standing Seam Metal Roof
Installing a standing seam system requires precision and attention to detail. Here’s how professionals tackle the process for long-term success.
1. Tear Off Existing Roofing (If Needed)
- Purpose: Prepares the deck for inspection and new materials
- Tip: In some cases, metal can be installed over one layer of shingles. However, removing old roofing allows for a full deck inspection and moisture barrier installation.
2. Inspect and Prep the Roof Deck
- Purpose: Ensures a solid foundation for new materials
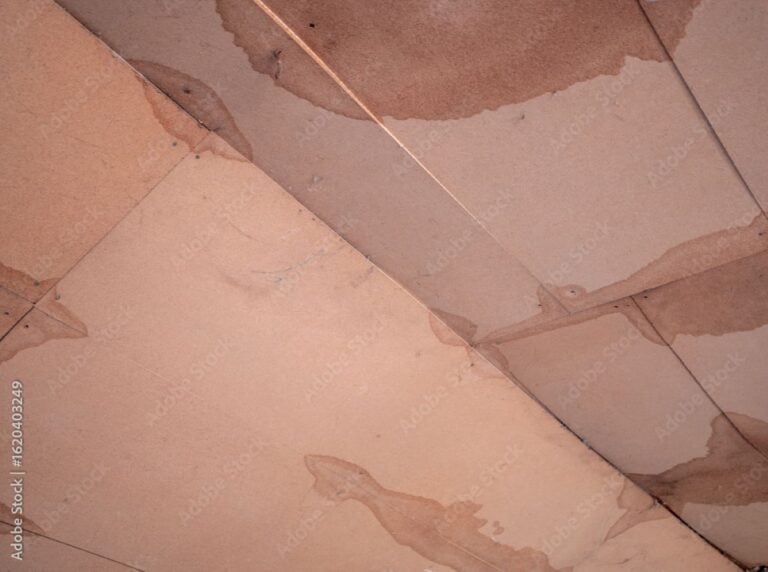
- Tip: Check for rot, warping, or loose sheathing. Replace damaged areas before moving forward. Clean debris and secure all fasteners in the decking.
A solid foundation is key. Checking decking and roof trusses before panel installation ensures structural stability.
3. Install Underlayment and Flashing
- Purpose: Provides a waterproof barrier between metal and decking
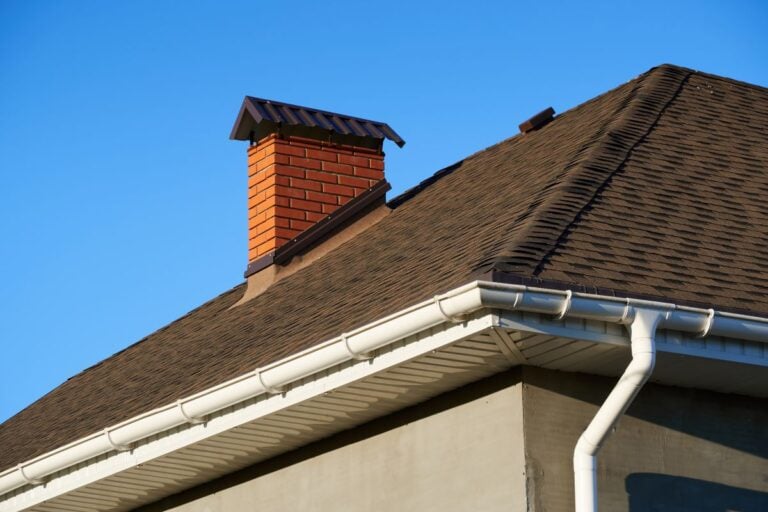
- Tip: Start at the bottom and overlap sheets upward. Use high-temp underlayment for areas near chimneys or skylights. Install drip edge flashing along eaves and rakes.
4. Lay Out and Secure Starter Cleats
- Purpose: Holds the first metal panel in place
- Tip: Starter cleats are screwed into the deck and serve as the base anchor point for vertical panels. Proper alignment here is crucial for a straight final layout.
5. Install Metal Panels With Clips
- Purpose: Fastens panels without exposing fasteners
- Tip: Position each panel over the starter cleat, align the seam, and secure with concealed clips. The next panel will lock into place over the previous one.
6. Seam the Panels
- Purpose: Locks panels together for structural strength and waterproofing
- Tip: Use hand seamers or mechanical seamers depending on your panel type. This is what gives the roof its signature raised vertical lines.
7. Add Ridge Cap and Trim
- Purpose: Completes the installation and seals the top of the roof
- Tip: Ridge caps are custom-fabricated to match the pitch and panel layout. Apply sealant where required and attach the ridge securely using hidden fasteners.
⭐️ Benefits of Standing Seam Metal Roofs
In addition to sleek looks, standing seam roofs come with a range of benefits that make them worth the investment.

Longevity and Durability
- Lasts decades: Most systems last 40–70 years with proper installation.
- Weather resistance: Performs well in wind, hail, snow, and UV exposure.
- Minimal maintenance: Fewer entry points mean fewer leak concerns.
If you live nearby, our team specializes in standing seam roofing in Alexandria, delivering long-lasting protection tailored to local weather.
Energy Efficiency
- Reflective panels: Reduce solar heat gain and lower cooling costs.
- Ventilation-friendly: Easily paired with ridge vent systems.
- Cool roofing options: Many finishes meet ENERGY STAR® standards.
Modern Curb Appeal
- Clean lines: Vertical seams give a refined, architectural look.
- Custom finishes: Available in matte, gloss, textured, or metallic finishes.
- Color variety: From deep charcoal to rustic bronze, there’s a style for every home.
❗️ Installation Challenges and Considerations
While the results are impressive, standing seam metal roof installation is not a DIY project. The precision required in panel layout, seam crimping, and flashing integration demands professional expertise.
- Higher upfront cost: The price per square foot is more than asphalt shingles.
- Complex tools: Special seamers and crimping equipment are required.
- Slope matters: Most standing seam systems are designed for roofs with at least a 3:12 pitch.
Still, the benefits and performance far outweigh the drawbacks for many homeowners. With the right team and quality materials, the system pays off in longevity and reduced maintenance. Because standing seam requires specialized tools and experience, working with metal roofing experts in Arlington ensures a flawless installation.
🏠 Maintaining a Standing Seam Metal Roof
Once installed, upkeep is relatively easy:
- Inspect seams annually: Look for signs of uplift or seam separation.
- Clean off debris: Leaves and branches can block valleys or gutters.
- Check trim and flashing: Confirm seals are tight after high winds or storms.
- Recoat if needed: Factory finishes last decades, but recoating is possible for older roofs.
Springfield Roofing & Sheet Metal also offers standing seam maintenance and repair services if your system needs touch-ups or inspections. From annual inspections to seam adjustments, our Great Falls metal roofing services cover everything you need to keep your investment performing for decades.
🤝 Standing Seam Roofing Done Right
Standing seam metal roof installation is one of the smartest exterior upgrades you can make for your home. While the process requires specialized tools and training, the result is a sleek, weatherproof roof that offers decades of protection.
If you’re ready to upgrade your home with a roofing system that lasts, Springfield Roofing & Sheet Metal is here to help. Contact us today to schedule a consultation, review product options, and get a free estimate for your standing seam metal roof installation.


