If you’ve noticed that roof vent leaks during heavy rain, it’s a clear sign that water is finding its way past your roof’s protective layers. Roof vents are designed to keep air flowing through your attic, but when they fail, they can allow water to seep in and cause damage to ceilings, insulation, and even framing. Knowing what causes these leaks, and how to fix them, can help you prevent costly repairs and protect your home from moisture damage.
- Common issue: Roof vent leaks are one of the most frequent causes of water stains in ceilings.
- Preventable problem: Proper installation and sealing stop leaks before they start.
- Long-term benefit: Addressing vent leaks protects your roof structure and extends its lifespan.
Why Roof Vent Leaks Happen During Heavy Rain
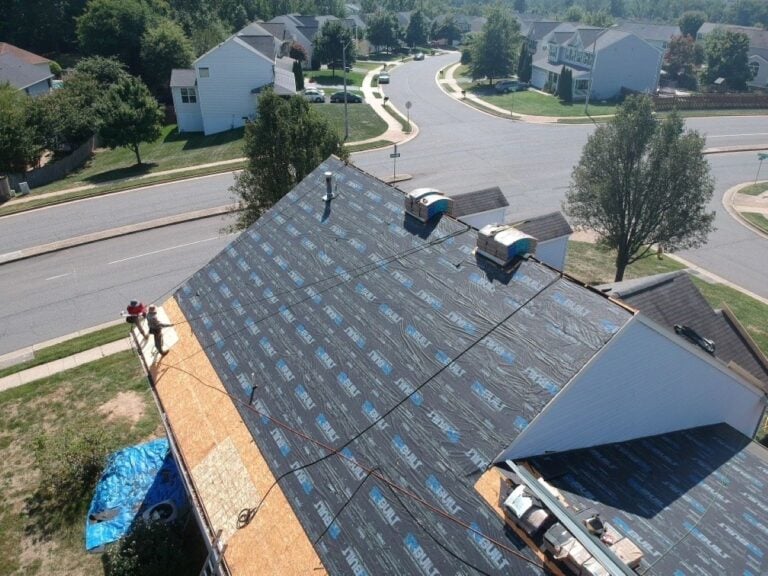
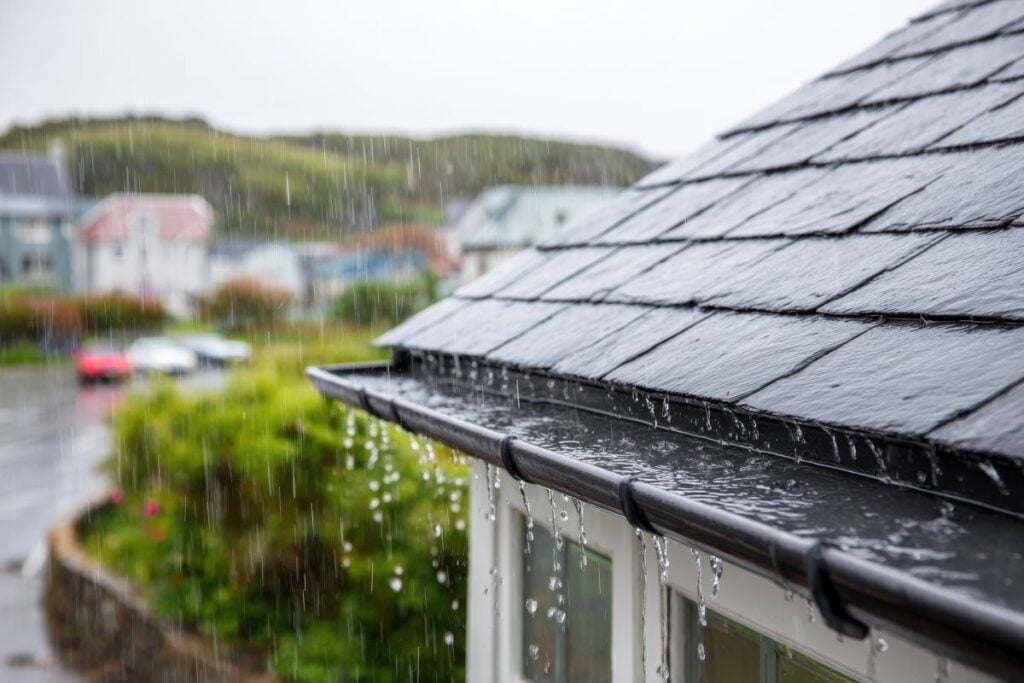
Roof vent leaks usually occur when rainwater gets past the vent’s flashing, gasket, or sealant. In Fairfax and surrounding areas, where seasonal storms bring intense rainfall, these leaks often develop over time as weathering weakens seals and fasteners.
Common Causes
- Cracked flashing: The metal or plastic flashing around the vent may crack or corrode, allowing water to enter.
- Damaged seals or caulking: Old or deteriorated sealant fails to block moisture effectively.
- Improper installation: Misaligned vents or poorly seated flashing create gaps where water can penetrate.
- Clogged or blocked vents: Debris, bird nests, or insulation can trap water around vent openings.
- Wind-driven rain: Heavy winds can push water sideways under vent covers that aren’t fully sealed.
Identifying the source of the leak is the first step in preventing long-term damage.
Signs Your Roof Vent Is Leaking
Detecting a roof vent leak early can save you from major repairs later. Look for these signs both inside and outside your home.
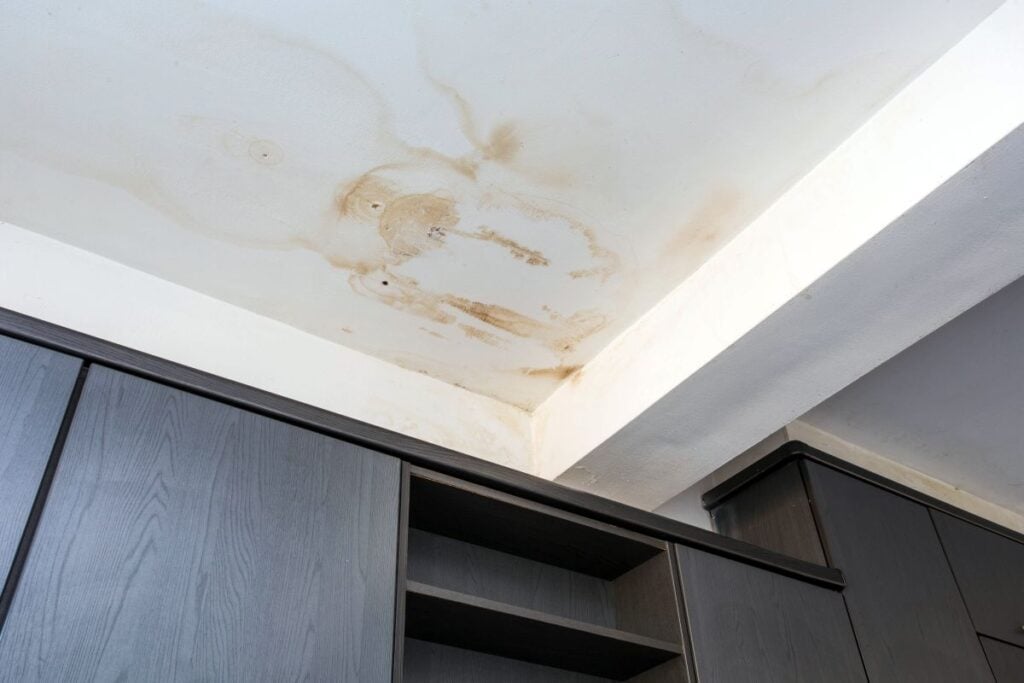
- Ceiling stains: Yellow or brown patches near vent areas indicate moisture intrusion.
- Dripping water: During storms, you might hear or see dripping from attic rafters.
- Mold or mildew: Persistent dampness around vents encourages mold growth.
- Warped shingles: Water trapped under or around the vent can lift shingles or cause blistering.
- Musty odors: A damp smell in the attic suggests trapped moisture.
If you notice any of these issues, it’s best to inspect your roof as soon as possible.
6 Steps To Fix Roof Vent Leaks
Repairing a vent leak can be straightforward if caught early. The key is to target the source rather than just addressing surface symptoms.
1. Inspect The Vent Area
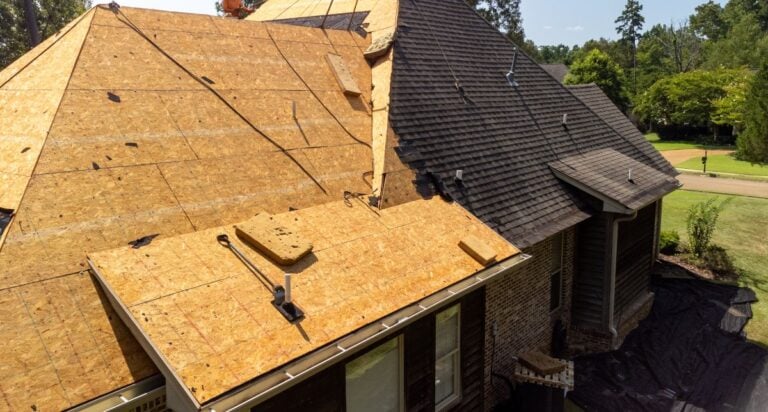
Climb onto the roof only when conditions are dry and safe. Check the area around the vent for cracked caulk, loose nails, or damaged shingles.
If you’re unsure of the source, use a garden hose to simulate rainfall while someone inside checks for leaks.
2. Remove Old Sealant
Use a putty knife or scraper to remove any old or cracked sealant from around the vent and flashing. This creates a clean surface for new materials to adhere properly.
3. Reseal Flashing And Joints
Apply a high-quality roofing sealant around the vent base, especially where the flashing meets shingles. Press the sealant firmly into any gaps.
For metal vents, use a polyurethane or silicone-based sealant designed for roofing applications.

4. Replace Damaged Components
If the flashing is bent, corroded, or cracked, replace it entirely. For vent boots with torn rubber gaskets, swap them out for new ones rated for UV and weather exposure.
5. Secure Shingles And Fasteners
Make sure shingles overlap the top edge of the flashing properly. Replace any missing or broken shingles and tighten loose screws or nails around the vent collar.
6. Test Your Repairs
Once the sealant cures (usually 24–48 hours), spray the area again with water to confirm that no more leaks occur.
DIY Fixes vs. Professional Repairs
| Factor | DIY Repair | Professional Repair |
| Cost | Lower upfront cost (materials only) | Higher cost but includes labor and expertise |
| Safety | Requires climbing and balance on the roof | Safe—handled by trained technicians |
| Durability | Short-term fix if not sealed correctly | Long-term solution with proper flashing replacement |
| Warranty | Usually none | Often covered under workmanship guarantees |
| Time | 1–2 hours for minor fixes | 1–3 hours depending on scope |
If the leak is small and accessible, a DIY approach might be sufficient. For persistent or widespread leaks, calling a roofing professional ensures the problem is addressed safely and permanently.
Preventing Roof Vent Leaks In The Future
Prevention is easier and less expensive than repair. A few maintenance steps can go a long way in avoiding leaks during heavy rain.
- Inspect twice a year: Check roof vents in spring and fall for cracks or loosened seals.
- Clean debris: Keep leaves, branches, and nests clear from vent openings.
- Reapply sealant periodically: Roofing caulk degrades over time; refreshing it every few years prevents gaps.
- Ensure proper attic ventilation: Reduces condensation that can weaken seals from the inside.
- Trim overhanging branches: Prevents debris buildup and impact damage during storms.
These small efforts help maintain a watertight barrier around roof penetrations, extending your roof’s life overall.
Why Vent Leaks Shouldn’t Be Ignored
Even a small vent leak can cause significant damage over time. Moisture that seeps into your attic can lead to:
- Rotting wood decking: Weakens your roof’s structure and requires expensive repairs.
- Mold and mildew growth: Creates health concerns and indoor air issues.
- Insulation damage: Reduces your home’s energy efficiency.
- Ceiling and drywall damage: Results in unsightly stains and costly interior repairs.
Addressing the issue early keeps small maintenance tasks from turning into major renovations.
Types Of Roof Vents That Commonly Leak
Not all vents are built the same, and some are more prone to leaks than others.
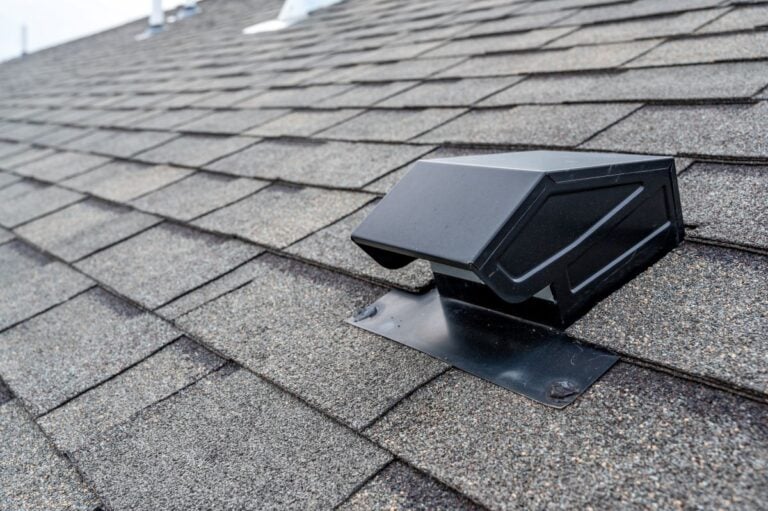
- Box vents: Simple and effective but rely heavily on proper flashing.
- Pipe boots: Rubber seals can crack or dry out over time, especially under UV exposure.
- Turbine vents: Moving parts can allow water intrusion if bearings fail or seals loosen.
- Ridge vents: Usually reliable but can leak if improperly fastened or capped.
Understanding what type of vent your roof has helps determine the best repair method.
How Weather Conditions Contribute
In Fairfax and surrounding areas, heavy rain often arrives with gusty winds. This combination increases the risk of wind-driven water entering vent gaps. Over time, freeze-thaw cycles and sun exposure can also deteriorate rubber gaskets and caulking, weakening the roof’s defenses.
To counter these effects, periodic maintenance—especially before and after the rainy season—is essential for keeping vents sealed tight.
When To Call A Professional
You should contact a roofing professional if:
- The leak persists after resealing.
- The flashing or vent boot is severely damaged.
- There are multiple vents or penetrations leaking.
- You’re uncomfortable walking on the roof.
Professionals can inspect for hidden issues, such as underlayment damage or structural rot, that homeowners might miss.
Stop Leaks Before They Start
When roof vent leaks during heavy rain, it’s often a sign that flashing or sealant has worn down over time. The good news is that these leaks are usually repairable with proper maintenance and attention to detail.
Fixing vent leaks promptly prevents structural damage, mold growth, and costly interior repairs—while maintaining your roof’s overall performance.
If you’ve spotted moisture near a roof vent or suspect a hidden leak, reach out to Springfield Roofing & Sheet Metal for expert guidance. Our experienced team proudly serves Fairfax and surrounding areas, helping homeowners identify problems early and keep their roofs watertight through every season.