The roof replacement process looks pretty simple from the front yard: a truck pulls up, a crew climbs a ladder, old shingles come off, new ones go on. But a huge amount of work happens before the first nail is driven and after the last bundle is unloaded, and most homeowners in McLean and surrounding areas never see any of it. Knowing what really goes on behind the scenes helps you understand where your money goes, why a good crew costs more than a cheap one, and what separates a smooth job from a mess.
- Before the work starts: Measuring, permits, ordering, and planning happen days or weeks ahead.
- During the job: Setup, tear-off, and install all involve more detail than meets the eye.
- After the install: Cleanup, inspection, and warranty paperwork wrap things up properly.
Why So Much of a Roof Replacement Happens Out of Sight
A roof replacement involves many steps that are easy to miss because they happen on top of the house, inside the attic, or on paper. Understanding the full picture helps homeowners spot good work and avoid corner-cutting.
What Makes the Hidden Work So Important?
The hidden work on a roof replacement is what determines whether your roof lasts 15 years or 30. The shingles are only the outer layer of a roofing system, and underneath them are several layers and details that protect your home from water, wind, and ice. A crew that rushes the underlayment, skips proper flashing, or uses the wrong nailing pattern can leave a roof that looks great on day one but fails years sooner than it should. Most of this is impossible to spot from the ground, which is why homeowners depend on the contractor’s honesty and craftsmanship.
- Underlayment quality: The waterproof layer beneath the shingles takes the brunt of any leak.
- Flashing detail: Tight metal work around chimneys and vents is the most common leak point.
- Nailing pattern: Correct placement keeps shingles from blowing off in storms.
- Ventilation balance: Proper airflow extends shingle life and prevents attic moisture.
How Can Homeowners Tell What’s Being Done Right?
Homeowners can tell what’s being done right by asking for photos during each stage of the work and reviewing the written scope before signing. A reputable contractor in McLean and surrounding areas will document tear-off, decking, underlayment, flashing, and final shingle install with date-stamped pictures. They’ll also walk you through each phase if you ask, and they won’t hesitate to explain why each layer matters. Pressure to skip the photos, vague answers about materials, and resistance to detailed scope discussions are all warning signs.
- Progress photos: Pictures at each stage prove the work was done correctly.
- Itemized scope: Every material and labor item spelled out in writing.
- Open communication: Crew leader available to answer questions during the work.
- Manufacturer certification: Contractors with status like CertainTeed Shingle Master meet ongoing quality standards.
7 Stages of a Roof Replacement, Step by Step
A complete roof replacement moves through seven distinct stages, most of which homeowners only catch glimpses of. Each stage has its own purpose, and a good crew handles every one with the same level of care.
1. How Does the Roof Get Measured and Quoted?
Roof measurement and quoting starts with either an in-person inspection or satellite imaging tools that calculate your roof’s size, pitch, and shape. A good contractor will still climb up and check the actual condition of the shingles, flashing, and gutters in person, because pictures from above miss a lot. They’ll look at the attic too, since poor ventilation or hidden leaks change what the job really needs. All of this happens before you ever get a written quote, and it usually takes one to three hours of work that you never see. The measurements and notes from this visit drive every number on the estimate.
- Drone or satellite measurement: Calculates roof area and pitch from above for accurate material counts.
- In-person inspection: Walks the roof to check shingle condition, flashing, and damage.
- Attic check: Looks for ventilation issues, leaks, and signs of past problems.
- Written quote: Pulls everything together into an itemized estimate.
2. Why Do Permits and Material Orders Take Time?
Permits and material orders take time because both involve outside parties on their own schedules. Most cities and counties, including those in McLean and surrounding areas, require a building permit for a roof replacement, and the contractor has to submit paperwork and wait for approval before starting. At the same time, shingles, underlayment, flashing, and other materials get ordered from a supplier and either delivered to the job site or staged at the contractor’s yard. Timing matters because shingles sitting in the sun for weeks can be affected, and starting work without a permit can lead to fines or a forced redo. A well-run company handles all of this in the background so you don’t have to worry about it.
- Permit application: Filed with the local building department and paid for by the contractor.
- Material ordering: Shingles and accessories ordered to match the quote.
- Delivery scheduling: Coordinated so materials arrive the day before or day of the job.
- Color confirmation: Final shingle color signed off by the homeowner before order.
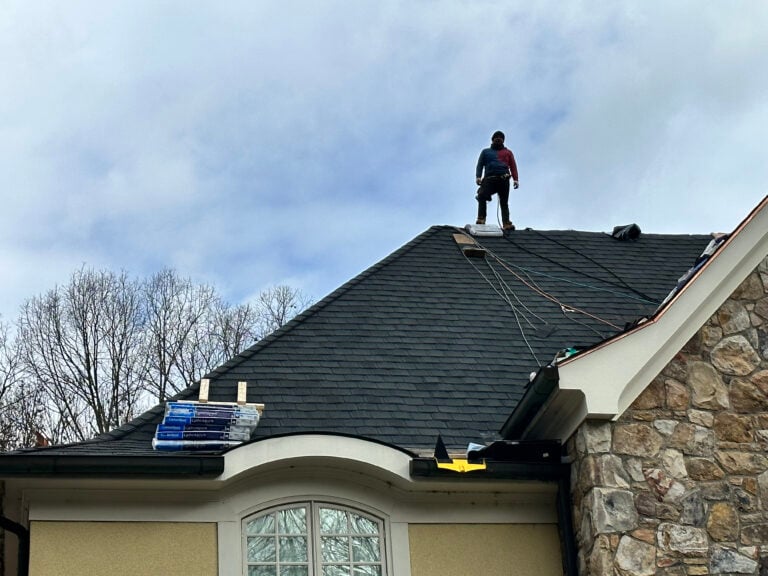
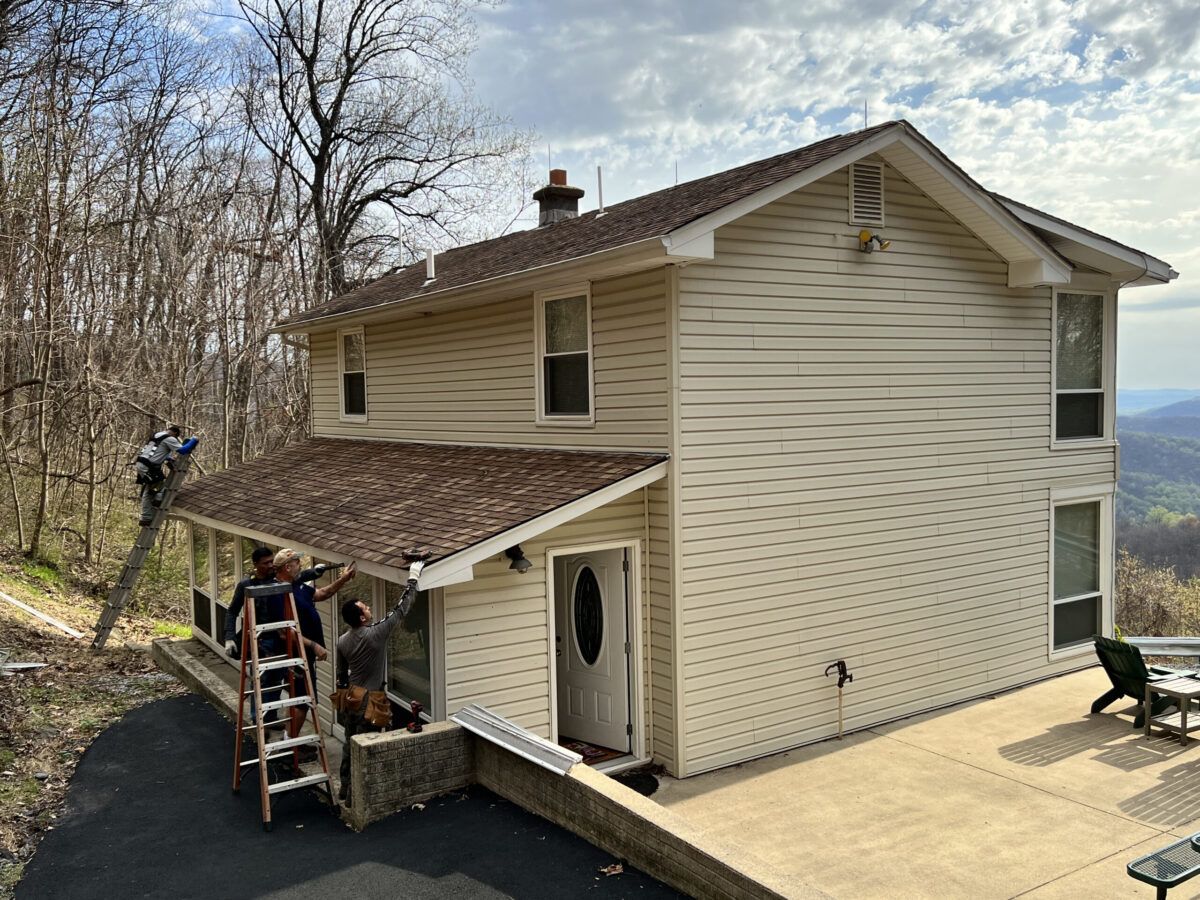
3. How Does the Crew Set Up Before Starting?
Crew setup before a roof replacement starts involves protecting your property, staging materials, and putting safety systems in place. The team will tarp shrubs and flower beds, cover HVAC units with plywood, move outdoor furniture, and place a dumpster in a spot that won’t damage your driveway. They’ll also set up safety harnesses, roof anchors, and ladder stabilizers before anyone climbs up. Setup usually takes 30 to 60 minutes and is one of the clearest signs of a careful crew versus a sloppy one. If the team skips this step, anything from your hostas to your AC condenser could end up damaged.
- Property protection: Tarps over plants and plywood over AC units to catch falling debris.
- Dumpster placement: Boards under the dumpster to protect the driveway from punctures and scrapes.
- Safety gear: Harnesses, anchors, and ladder stabilizers in place before climbing.
- Tool staging: Nail guns, compressors, and shingle bundles organized for fast access.
4. What Goes Into Tearing Off the Old Roof?
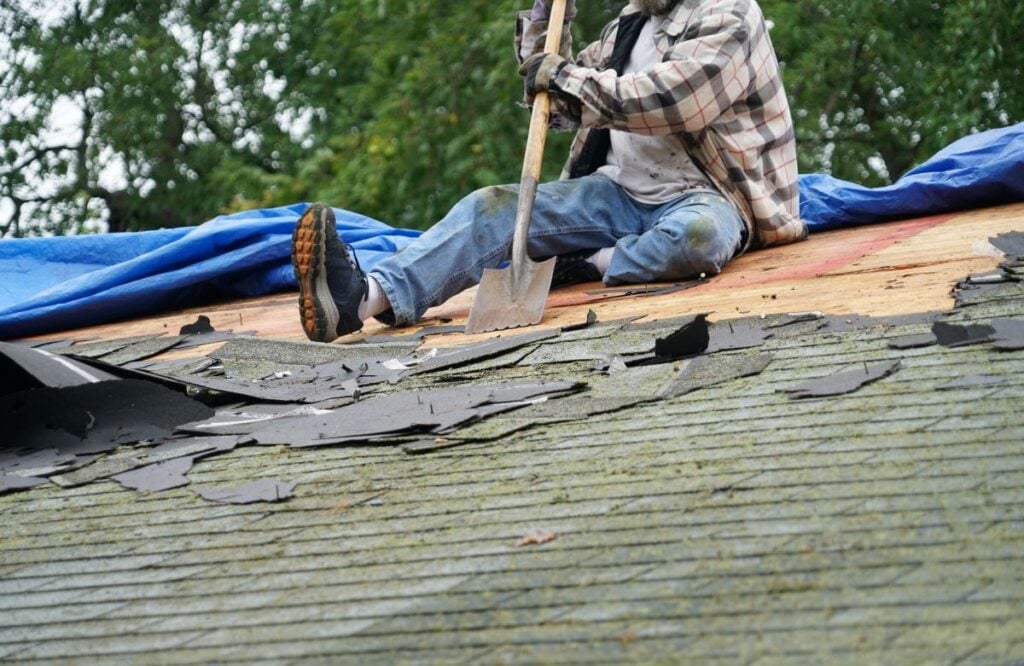
Tearing off the old roof means stripping every layer of shingles, underlayment, flashing, and nails down to the bare wood. The crew uses tear-off shovels, pry bars, and a lot of muscle, and most homes can be stripped in two to four hours by a five-person crew. As shingles come off, they slide down into the dumpster or a debris chute, but a lot of nails and small pieces still end up in the yard. A good crew will run a magnetic sweeper across the lawn at the end of the day to pick up loose nails so kids, pets, and bare feet stay safe. Tear-off is also when the crew can finally see the condition of the wood underneath, which sometimes changes what the job needs.
- Layer removal: Shingles, underlayment, drip edge, and flashing all come off.
- Debris management: Material slides into the dumpster or a chute beside the house.
- Magnetic sweep: Picks up loose nails from the yard, driveway, and walkways.
- Wood inspection: First chance to see if any plywood underneath needs replacing.
5. Why Is Underlayment and Flashing Work So Important?
Underlayment and flashing work matters because these are the layers that actually keep water out, even more than the shingles themselves. After tear-off, the crew rolls out a moisture barrier across the whole roof and adds a thicker, sticky membrane in valleys, around chimneys, and along the edges where ice can back up in winter. Then they install metal flashing in every spot water might try to sneak in, like around vent pipes, skylights, and the chimney. This is the unglamorous part of the job that most homeowners never see because it gets covered up by the shingles, but it’s where roofs either succeed or fail. A crew that rushes this step is setting you up for leaks down the road.
- Synthetic underlayment: Covers the whole roof as a backup water barrier.
- Ice and water shield: Sticky membrane in valleys, eaves, and around penetrations.
- Step flashing: Metal pieces woven into shingles along walls and chimneys.
- Pipe boots and vent flashing: Sealed around every penetration on the roof.
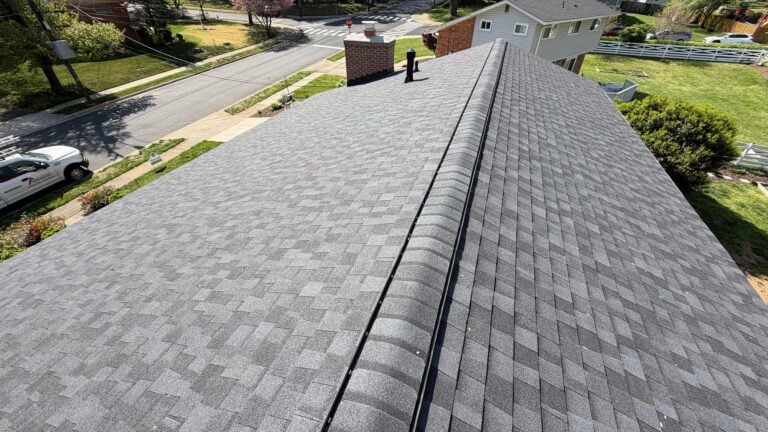
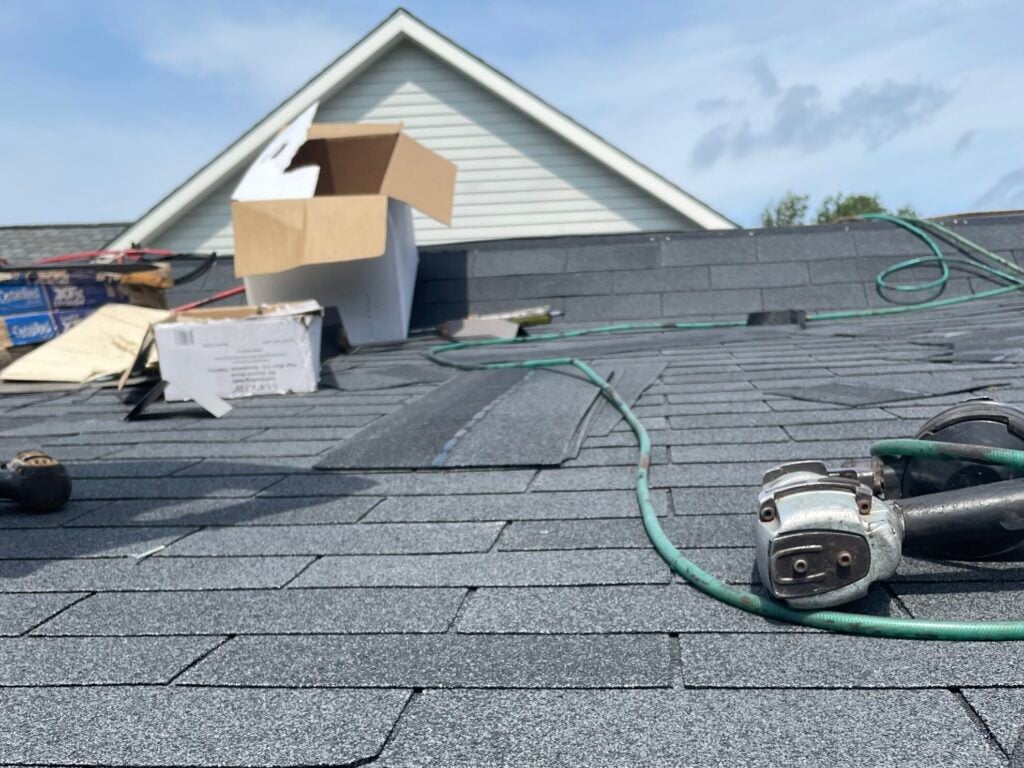
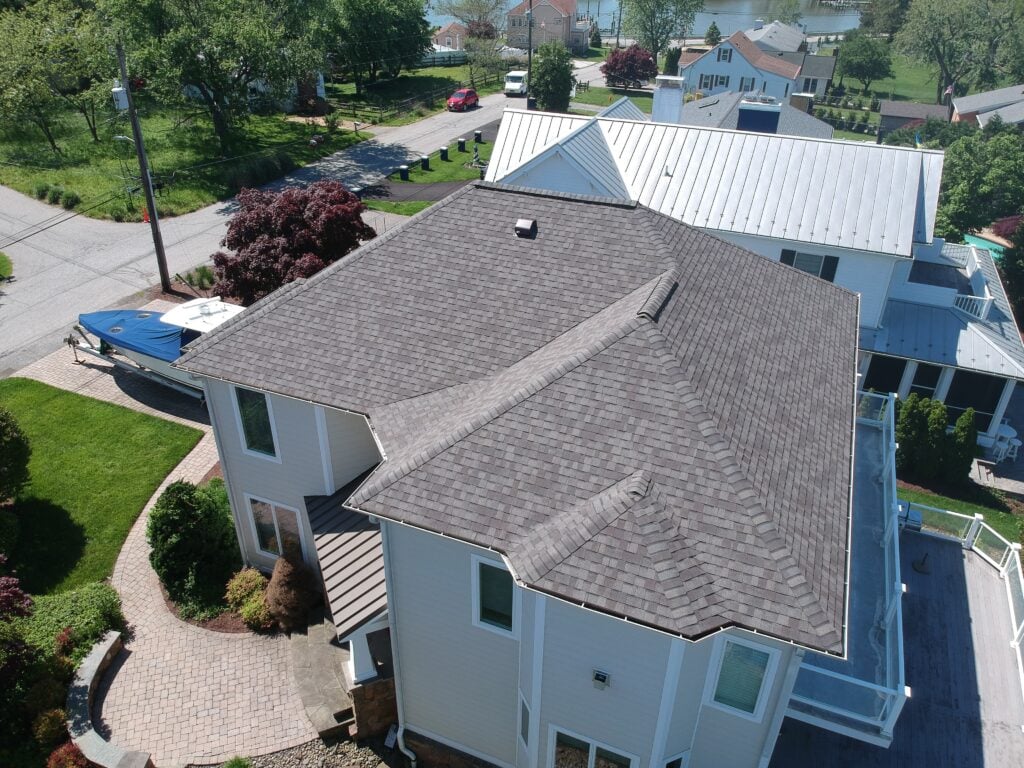
6. How Does the Crew Install New Shingles?
New shingle installation starts at the bottom edge of the roof and works upward, row by row. The crew lays down a starter strip along the eaves first, then nails each shingle into place with a specific pattern and number of nails set by the manufacturer. Getting that pattern right matters because using too few nails or putting them in the wrong spot can void the shingle warranty and cause shingles to blow off in a storm. Ridge cap shingles go on last, folded over the peak of the roof and any hips, and ridge vents are installed at the same time to let hot air escape from the attic. A skilled crew can install an average-sized roof in one to two days once tear-off is done.
- Starter shingles: Sealed strip along the eaves to prevent wind lift.
- Nailing pattern: Six nails per shingle in high-wind areas, four in standard zones.
- Ridge venting: Installed at the peak so hot, humid air escapes the attic.
- Hip and ridge caps: Matching shingles fold over the roof’s highest points.
The Asphalt Roofing Manufacturers Association sets a minimum of four nails per full-size strip shingle for most installations, with additional nails required for high-wind areas or steep slopes, which is why the right pattern is one of the most important details a crew gets right behind the scenes.
7. What Happens During Cleanup, Inspection, and Warranty Wrap-Up?
The final stage of a roof replacement is cleanup, inspection, and warranty paperwork, and it’s the part that protects your investment for decades. A thorough crew magnet-sweeps the yard multiple times, clears gutters of granules and nails, hauls off the dumpster, and resets any outdoor furniture they moved. The crew leader walks the finished roof, and then a local building inspector comes out to verify the work meets code so the permit can be closed. After that, the contractor registers your shingles with the manufacturer and gives you a written workmanship warranty for the labor. This is the paperwork that proves your roof was installed right and gives you recourse if something goes wrong.
- Magnetic sweeps: Multiple passes across the lawn and driveway to pick up nails.
- Code inspection: Local building inspector signs off before the permit is closed.
- Manufacturer registration: Locks in the full shingle warranty, often 25 to 50 years.
- Written labor warranty: Covers installation defects for years after the job.
How Long Does the Whole Roof Replacement Process Take?
The full timeline from signed contract to finished roof depends on weather, permits, and how busy the contractor is. Knowing the typical pace helps homeowners plan around it.
What Does a Realistic Timeline Look Like?
A realistic roof replacement timeline runs two to four weeks from contract signing to finished job, with the actual on-site work taking just one to three days. The longest stretches are usually waiting on permits and scheduling around weather, not the install itself. Spring and fall in Northern Virginia bring busier schedules and more rain delays, which is why many homeowners in McLean and surrounding areas book their roof work in late summer or winter when calendars are more open. A good contractor will give you a clear timeline up front and update you if anything shifts.
- Contract to permit: One to two weeks for paperwork and approval.
- Material delivery: A few days before the start date.
- On-site work: One to three days for an average home.
- Final paperwork: A few days after install for warranty and permit closeout.
Frequently Asked Questions
How long does the entire roof replacement process take?
From signed contract to finished job, most roof replacements take two to four weeks, with the actual work on your house happening in just one to three days. Permits, material orders, and scheduling around weather take up most of that time. Larger or more complex roofs can stretch the on-site work to four or five days.
Can I stay in my house during the work?
Yes, you can stay in your house during a roof replacement, but it’s loud. Tear-off and nailing sound like constant hammering directly above your head, so people who work from home or have small kids and pets sometimes choose to spend the day elsewhere. The work doesn’t affect water, power, or your ability to use the house.
What if it rains during the job?
If rain shows up during the job, the crew will dry-in the roof with underlayment and tarps to keep water out until the weather clears. A good contractor watches the forecast carefully and won’t start a tear-off if heavy rain is expected. Short delays are normal in spring and fall in Northern Virginia and don’t usually cause any problems.
Will roofing damage my landscaping?
A careful crew protects landscaping with tarps and plywood, but some scuffs to shrubs and lawn are sometimes unavoidable. Reputable contractors discuss landscaping concerns before starting and take steps to protect plants near the house. Significant damage should be reported right away so the contractor can fix it.
Do I need to do anything to prepare my house?
Before the crew arrives, move vehicles out of the driveway, take down anything fragile on shared walls (pictures may rattle from vibration), and let the contractor know where to park the dumpster. You don’t need to cover anything indoors, but homeowners with attic items right under the roof sometimes choose to drape them with sheets to catch dust.
What should I do if I find nails in my yard after the job?
If you find nails in your yard after the job is done, call the contractor and let them know. A reputable company will come back with a magnetic sweeper at no charge. Finding a few stray nails isn’t unusual even after a good cleanup, but a yard full of them means cleanup was rushed.
Choose Springfield Roofing & Sheet Metal for a Roof Replacement Done Right
When you can actually see everything that goes into a roof replacement process, it’s easier to understand why workmanship and attention to detail matter so much. Springfield Roofing & Sheet Metal is a 1st and 2nd generation family-owned and operated company serving McLean and surrounding areas with a dedicated in-house crew, full labor and material warranties, and CertainTeed 5-Star Select Shingle Master certification, which is held by only a small percentage of roofing contractors nationwide. We walk homeowners through every step, document the work with photos, and clean up like we were never there. Contact Springfield Roofing & Sheet Metal today for a free estimate and find out what a careful, start-to-finish roof replacement actually looks like.